This article provides example videos for setting up multiple properties within the same login to your ePropertyCare Connected Home System. This allows you to switch between properties without having to logout and login again.
How to setup via the website: https://youtu.be/Iv1p3Ly2qt4
How to setup via the App: https://youtu.be/OhK7smgkPHY
Linked Systems allows multiple customer accounts to be shared under a single login using the Customer Website. This allows the customer login to conveniently switch between customer accounts without having to log out of one account and log into their other accounts. Once Linked Systems is set up using the Customer Website, the login can also use the Customer app to toggle between the linked accounts.
With Linked Systems, customers can combine any existing accounts together, even if the accounts are with different dealers. There is no limit on the number of accounts that can be linked using Linked Systems.
Note: Granting Linked Systems enables the feature only for the logins that perform the setup process. It does not automatically grant access to all logins associated with the accounts, so each login name that wants to have access to multiple systems needs to go through the Linked Systems setup process to be able to switch between accounts.
To link multiple account logins under one login name:
When adding a login that already has Linked System connections to the login, access is granted to the subsequent logins that were already attached.
Important: The initial account creation and configuration must be completed before an account can be linked. This includes changing the new account's temporary password that is assigned during account creation.
Using the Customer Website:
- Have the customer choose the account they would like to mainly use to access all of their accounts. This is the login used to access the multiple accounts once it is set up.
- Verify all usernames and passwords for the other accounts are easily accessible or known.
- Log into the Customer Website using the chosen customer account login.
- Click the Login information icon on bottom of main homepage.
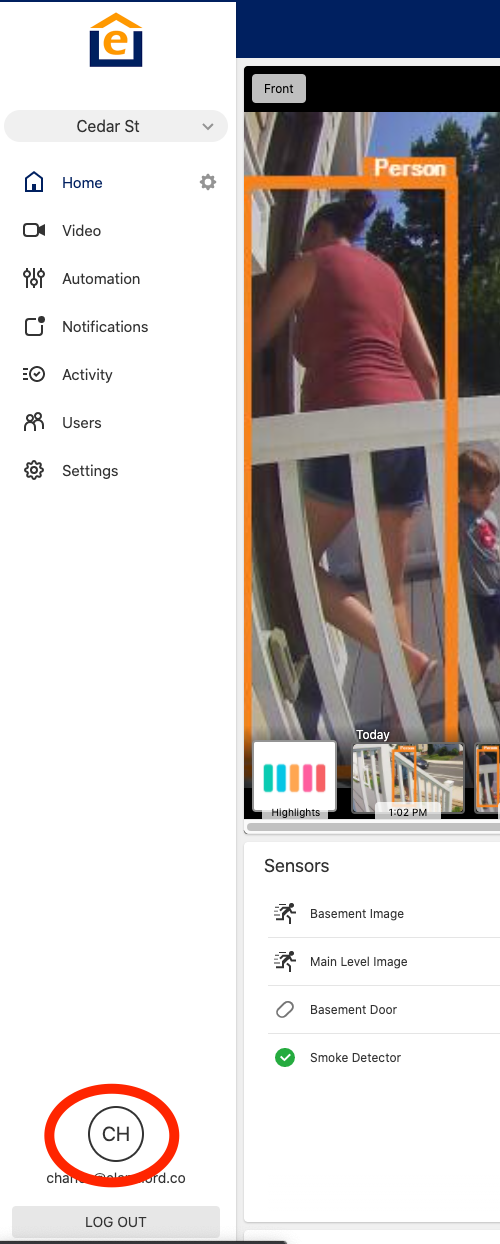
- The user can also click Settings, then Login Information to open the Login Information window.
- Click Linked Systems.
- Click Add.
- In the Login text field, enter the login name to be linked.
- In the Password text field, enter the password to the login to be linked.
- Click Submit.
- Verify the system to be linked, then click Confirm. This takes immediate effect in linking the accounts to the current login name.
Note: A secondary login appears for any accounts that are attached to the main account. The login that appears is the login of the main account.
Using the Customer app:
- Have the customer choose the main account the customer would like to connect with the rest. This is the login they will use whenever accessing the accounts going forward.
- Verify all the usernames and passwords for the other accounts are easily accessible.
- Log into the Customer app.
- Tap
 .
. - Tap Login Information.
- Tap Linked Systems.
- Tap Add.
- Enter the login and password for a secondary account.
- Tap Next.
- Read the instructions on the page, then tap Confirm.
Note: A secondary login appears for any accounts that are attached to the main account. The login that appears is the login of the main account.
To unlink an account under one login name:
Using the Customer Website:
If the user sets up Linked Systems but then wants to remove a system from their login, proceed to the following steps.
- Log into the Customer Website using the login setup with Linked Systems.
- Click the Login information icon.

- The user can also click Settings, then Login Information to open the Login Information window.
- Click Linked Systems.
- In the Default system for dropdown menu, verify the current default system selected is different than the default system to be unlinked.
Note: If the default system selected is the same as the default system to be unlinked, use the Default system for dropdown menu to select another system. Otherwise, there will be no option available to unlink the desired system.
- Click
 on the system to remove from the login.
 - Click Remove System to confirm the removal. This takes immediate effect in unlinking the accounts to the current login name.
Using the Customer app:
- Log into the Customer app.
- Tap .
- Tap Login Information.
- Tap Linked Systems.
- In the Default system for dropdown menu, verify the current default system selected is different than the default system to be unlinked.
Note: If the default system selected is the same as the default system to be unlinked, use the Default system for dropdown menu to select another system. Otherwise, there will be no option available to unlink the desired system.
- Tap Delete under the system that you'd like to remove.
- Tap Confirm after verifying that this is the system that you'd like to remove.