This article shows how to setup on-board recording for ePropertyCare video cameras. This allows 24/7 recording storage on the camera via microSD Card, in addition to cloud clips.
Capable cameras: ADC-V515, ADC-V535, ADC-V723, ADC-VC847PF
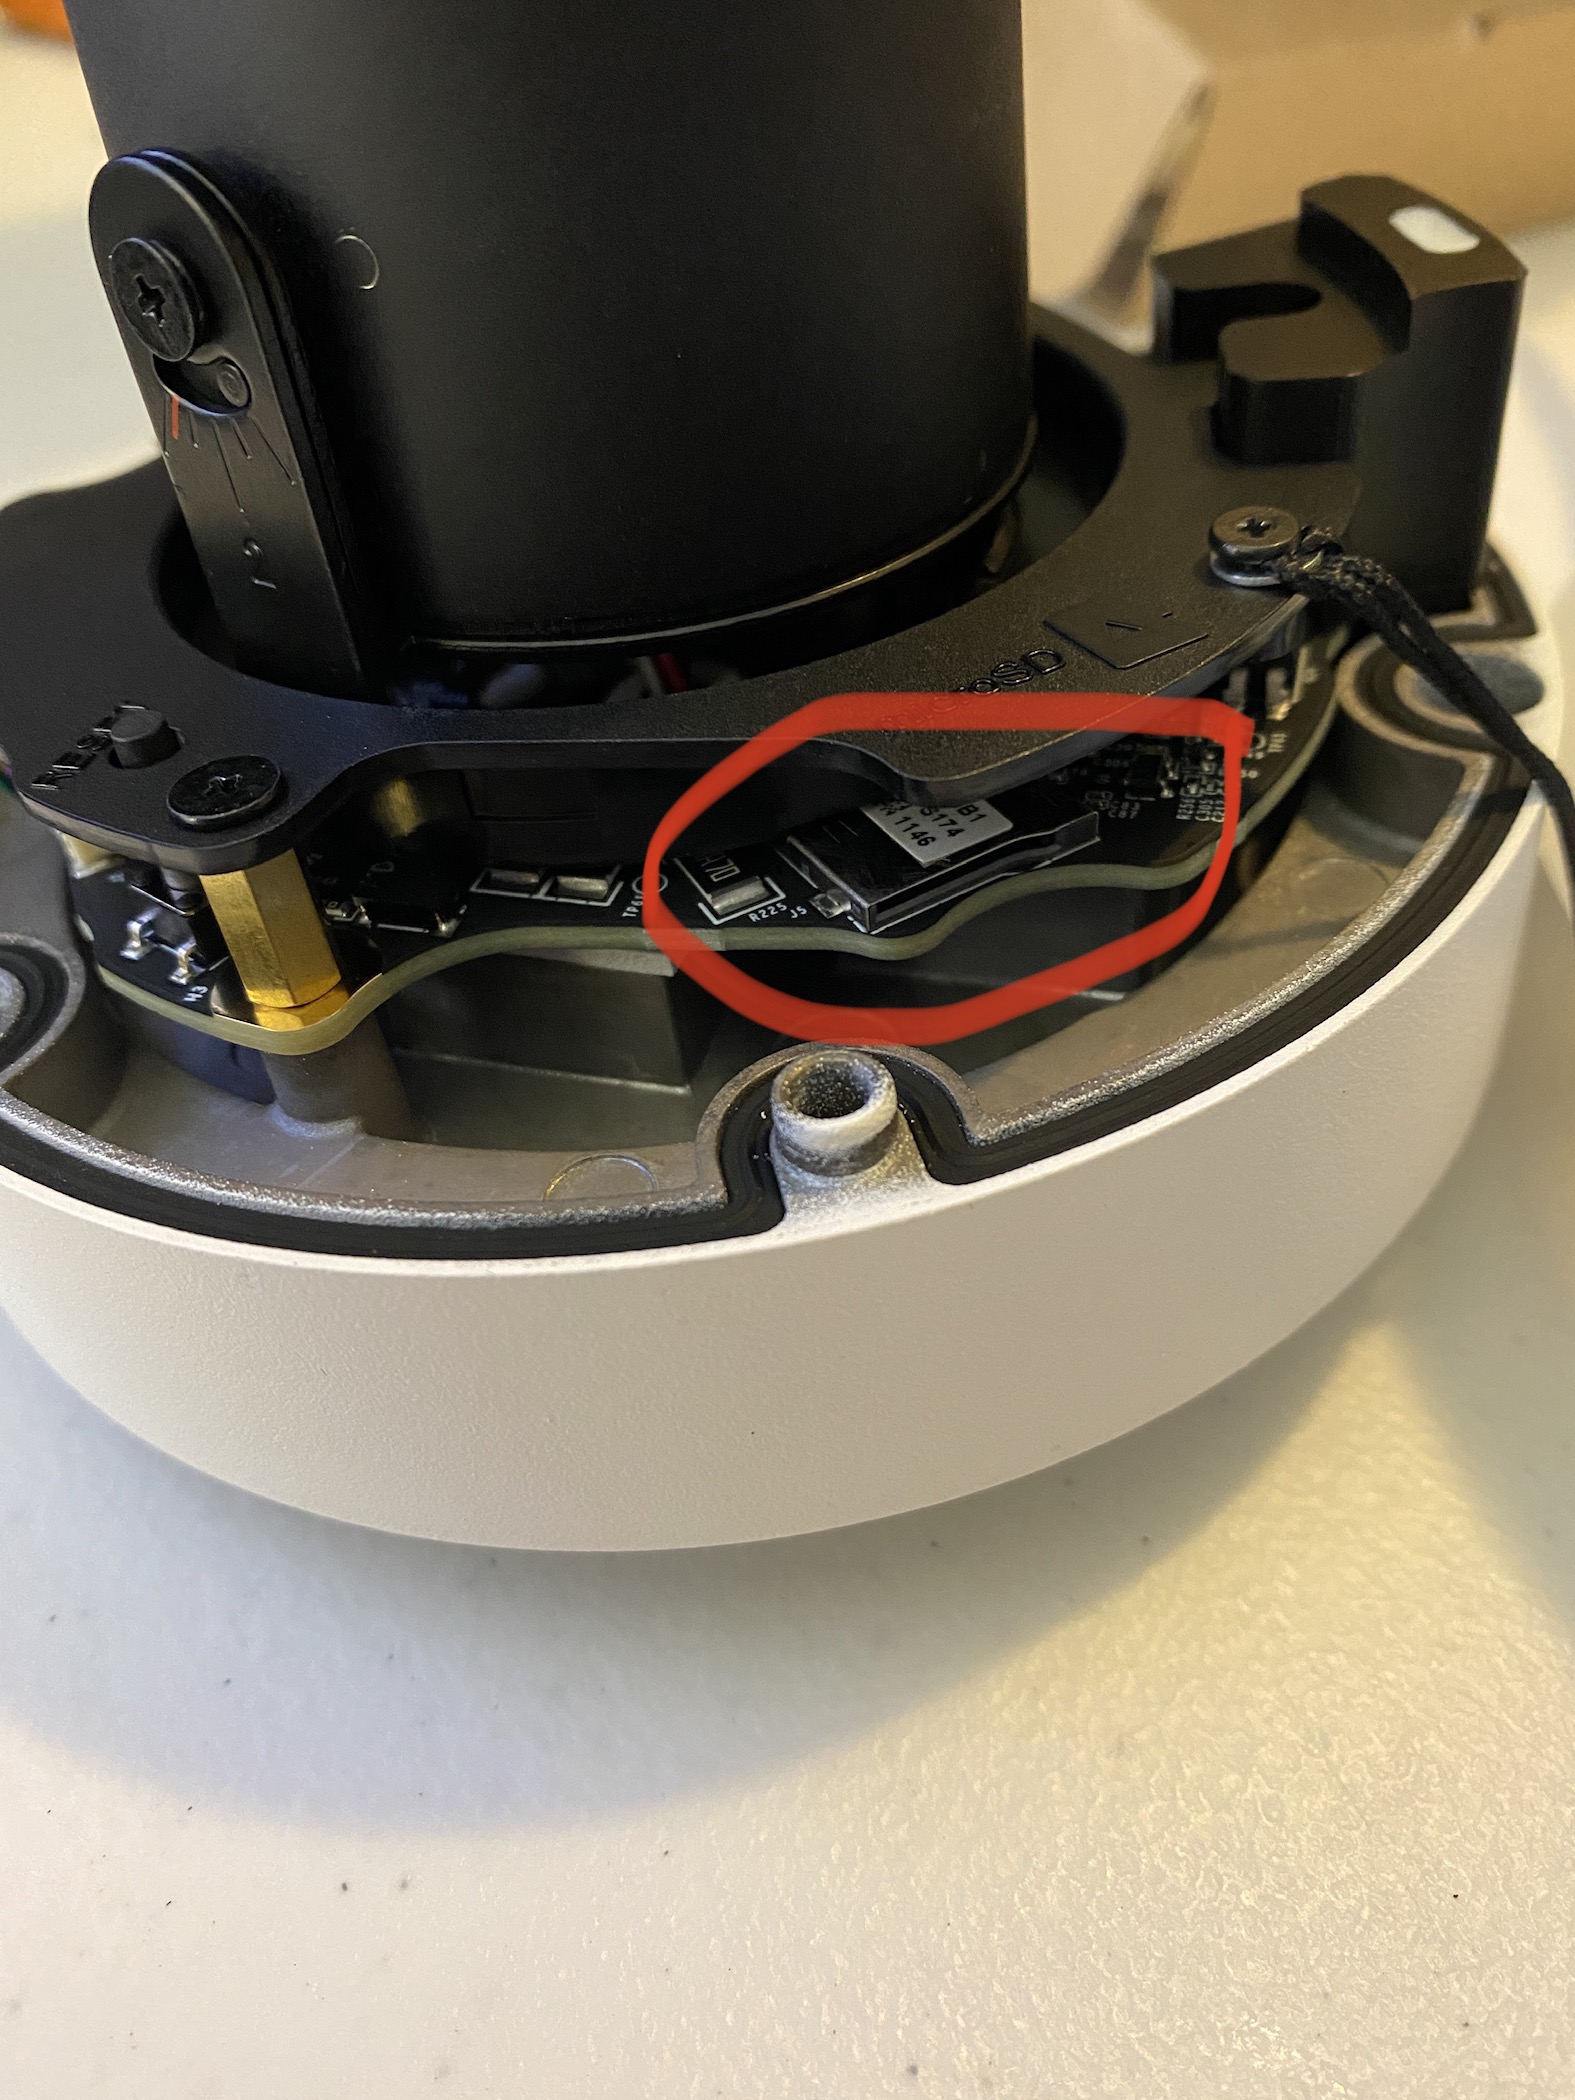
Step 1:Insert SD card into the on-board recording capable camera:
To install an SD card in an ADC-V515:
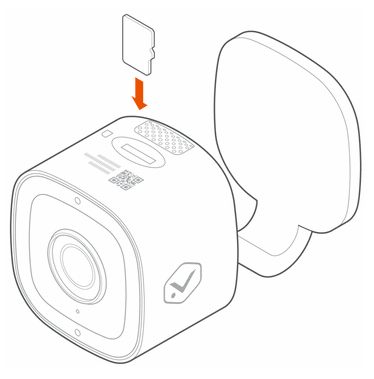
- Verify the device is upgraded to the latest firmware available.
- Locate the SD card slot on the bottom side of the camera near the QR code and MAC address.
- Orient the micro SD card with the metal pins facing towards the front of the camera.
- Insert the SD card into the slot until it clicks.
To install an SD card in an ADC-V523:

- Verify the device is upgraded to the latest firmware available.
- Pull open the rubber tab on the bottom side of the camera near the QR code and MAC address.
- Insert the micro SD card into the slot until it clicks.
- Replace the rubber cover.
To install an SD card in an ADC-V723:
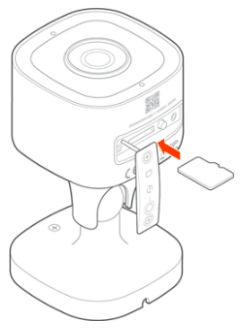
- It is recommended to insert the micro SD card before the camera is mounted to minimize the chance of dropping the card. If the camera is mounted, remove the camera in order to more easily access the SD card slot.
- Unscrew the 2 screws on either side of the door found on the bottom face of the camera near the QR code and MAC address.
- Carefully lift then rotate the door open to provide clearance for inserting the card into the slot for the SD card. Take care not to tug the door which could separate it from the camera.
- Insert the micro SD card until it clicks.
- Replace the door and screw the 2 screws back firmly into place.
To install an SD card in an ADC-VC847PF:
1. Remove the top grey cover
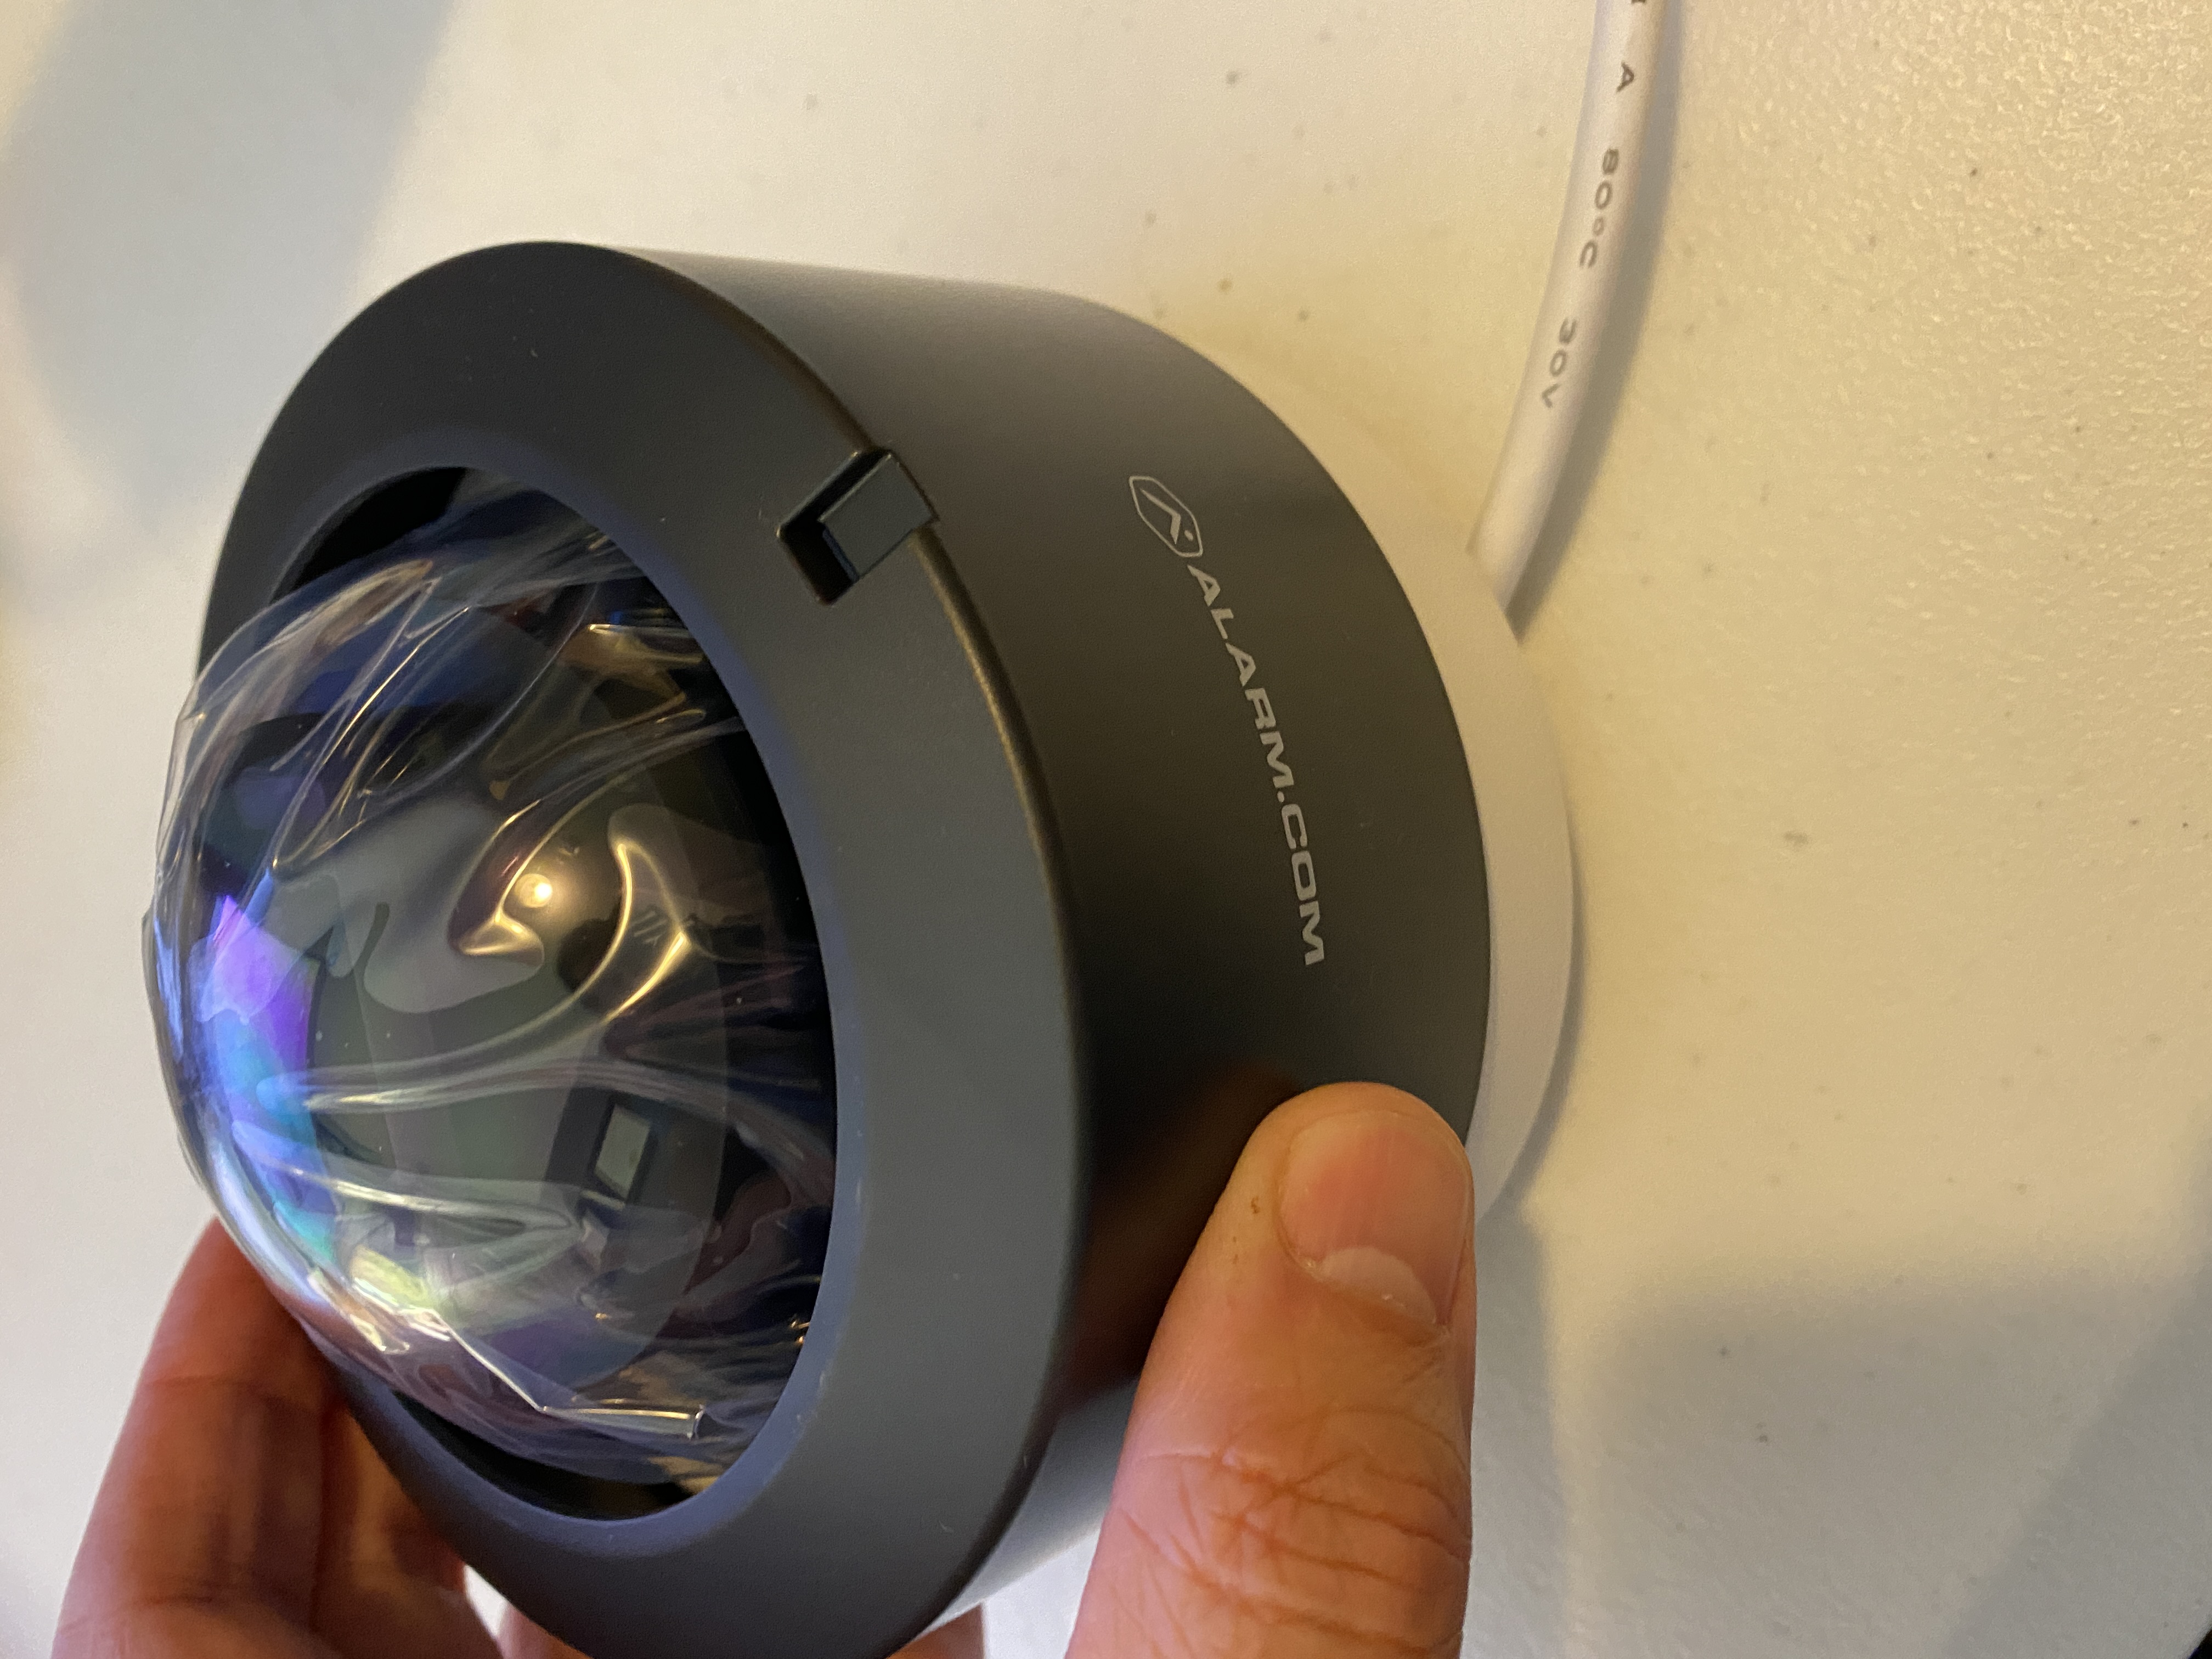
2. Unscrew the 3 screws using the included tool
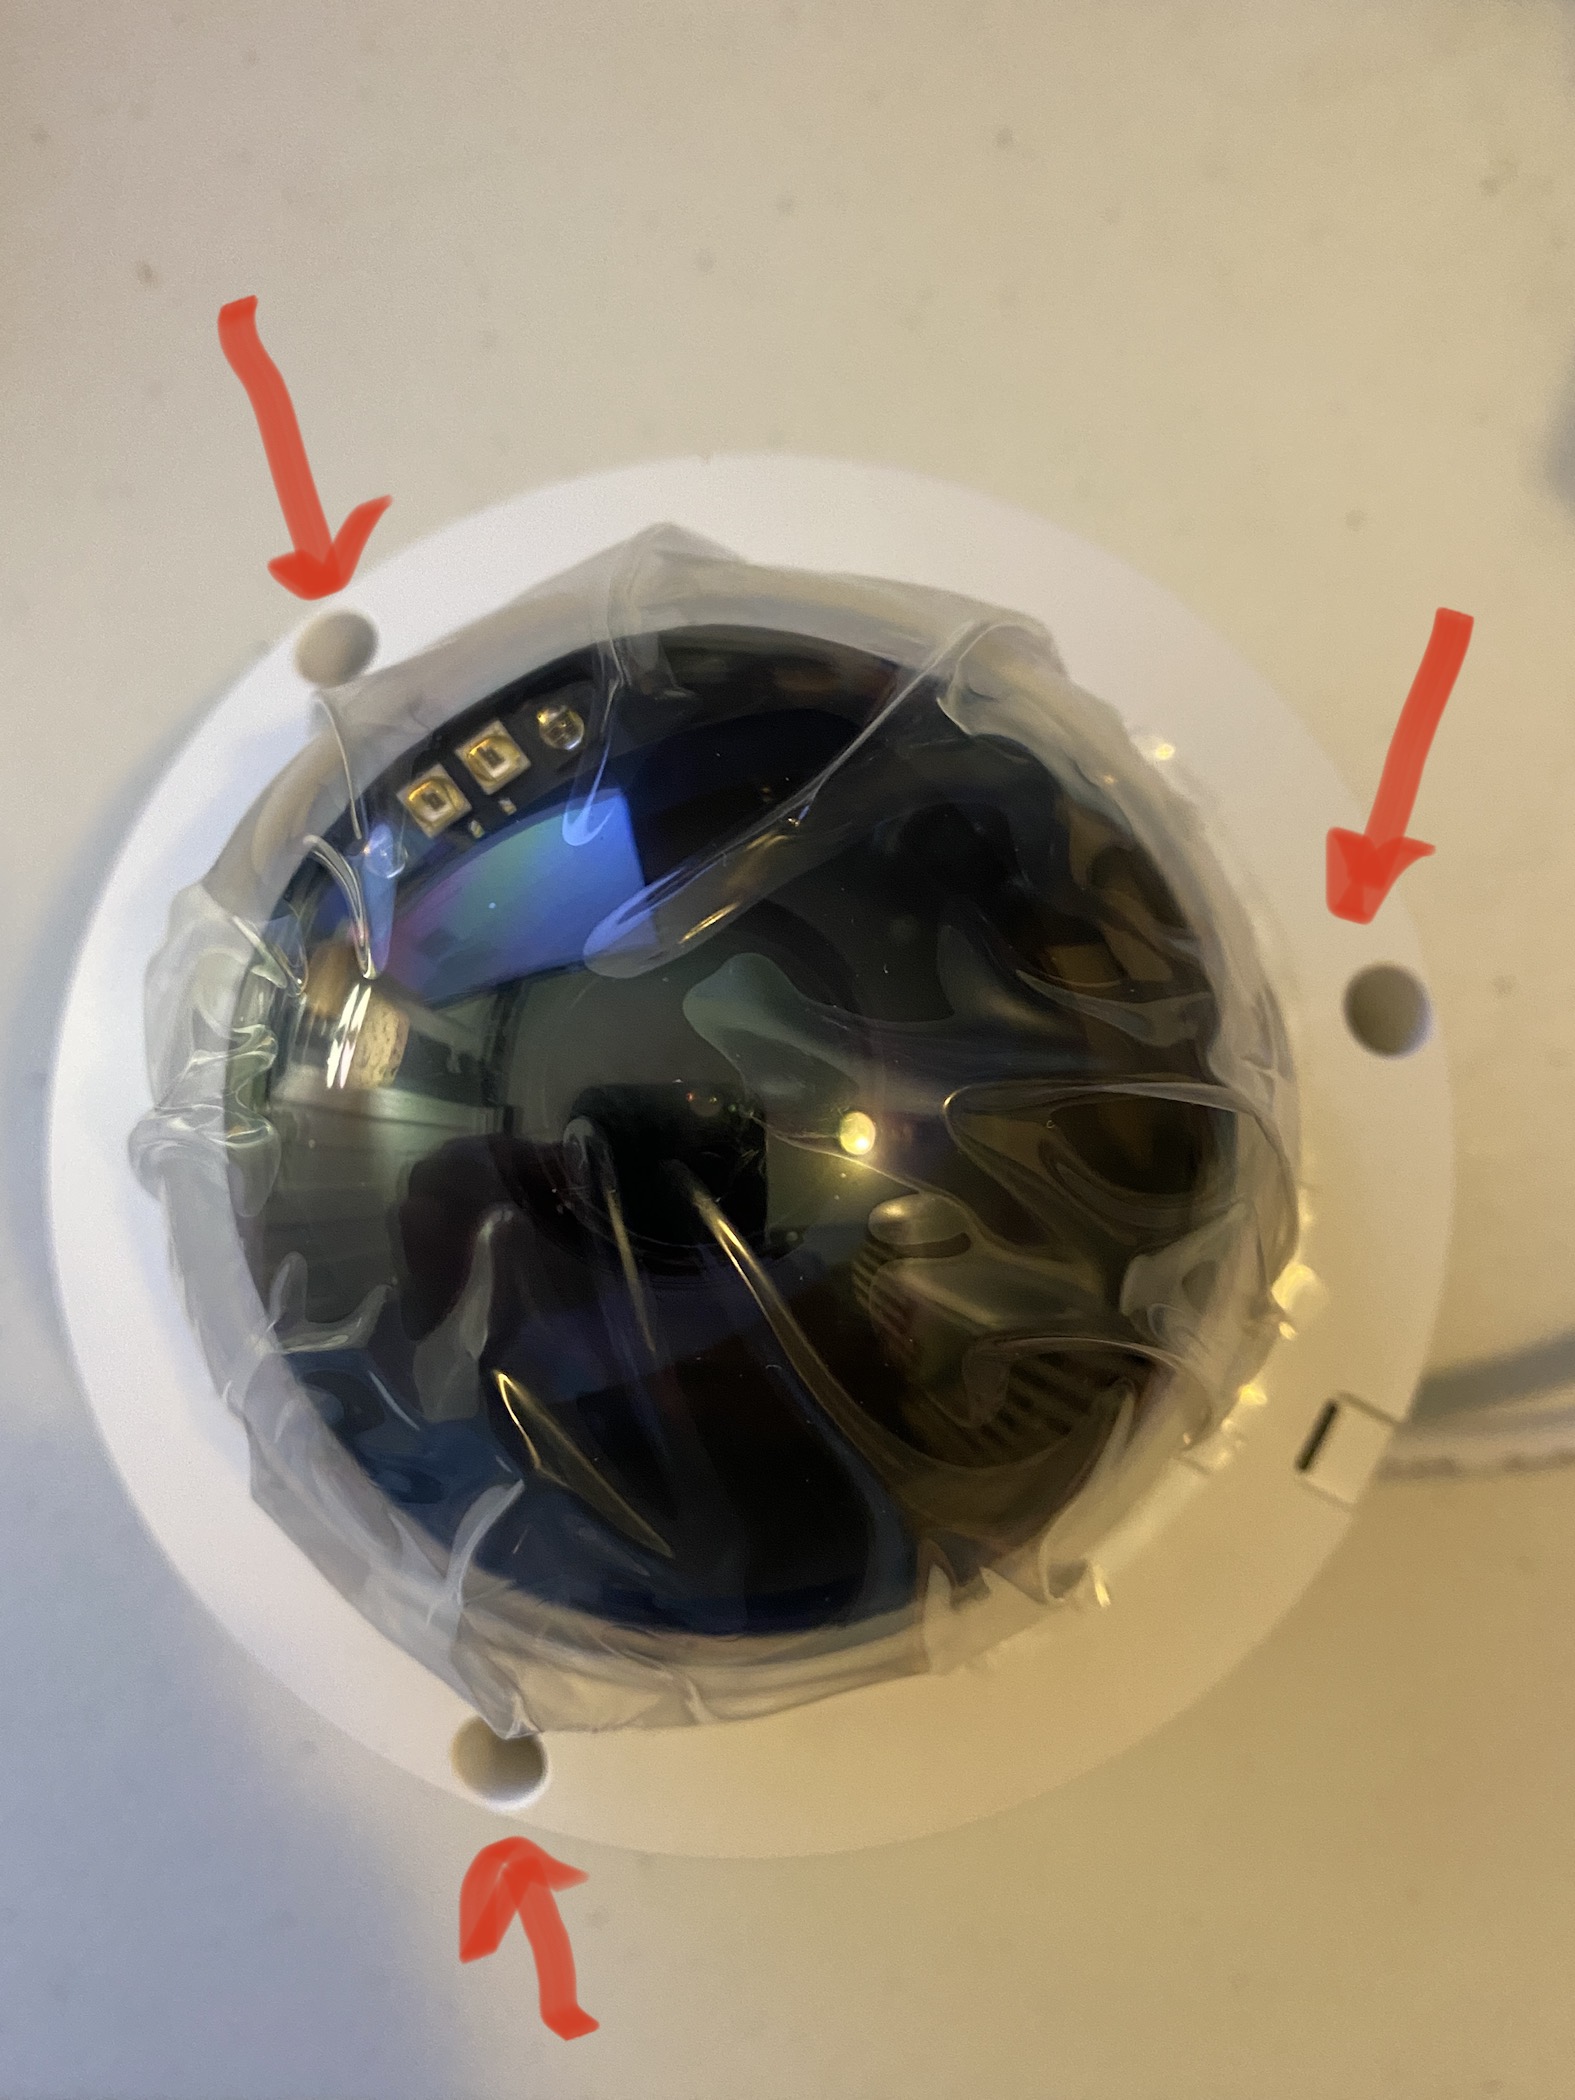
3. Insert microSD card into the slot
4. Reverse process to secure screws and place cover back onto camera (if desired).
Create the recording rule using the Customer Website:
- Log into the Customer Website.
- Click Video.
- Click Recording Rules.
- Click Local Recordings.
- Click + Add New Schedule.
- Click Onboard.
- Using the Select a camera to record from dropdown menu, select the desired device.
- Using the Select recording quality slider, select the desired quality.
- In Schedule recording time, click to select either At all times or Only during the following times.
- If Only during the follow times is selected:
- Click to select the desired days to record.
- Using the Starting at and Ending at dropdown menus, select the period to record in hours.
- If Only during the follow times is selected:
- To limit the number of days that recordings are kept:
- Click the Limit the number of days to record toggle switch to enable a limit.
- Using the dropdown menu, select the desired number of days to limit the recordings to.
- Click Save.
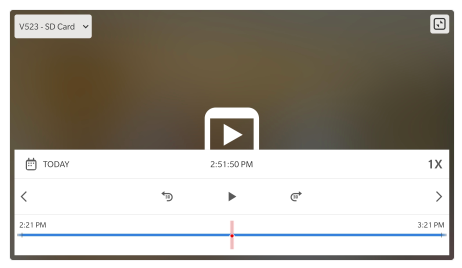
To view Smart View using the Customer Website:

- Log into the Customer Website.
- Click Video.
- Click Onboard Timeline.
- Using the video device dropdown menu, select the desired device to play back.
- Click Play button to stream the device's recorded video.
To view Smart View using the Customer app:
- Log into the Customer app.
- Tap
 .
. - Tap Video.
- Tap 24/7.
- Tap
 .
.
Note: Basic controls can be accessed on Android devices by dragging up from the date, time, or speed.