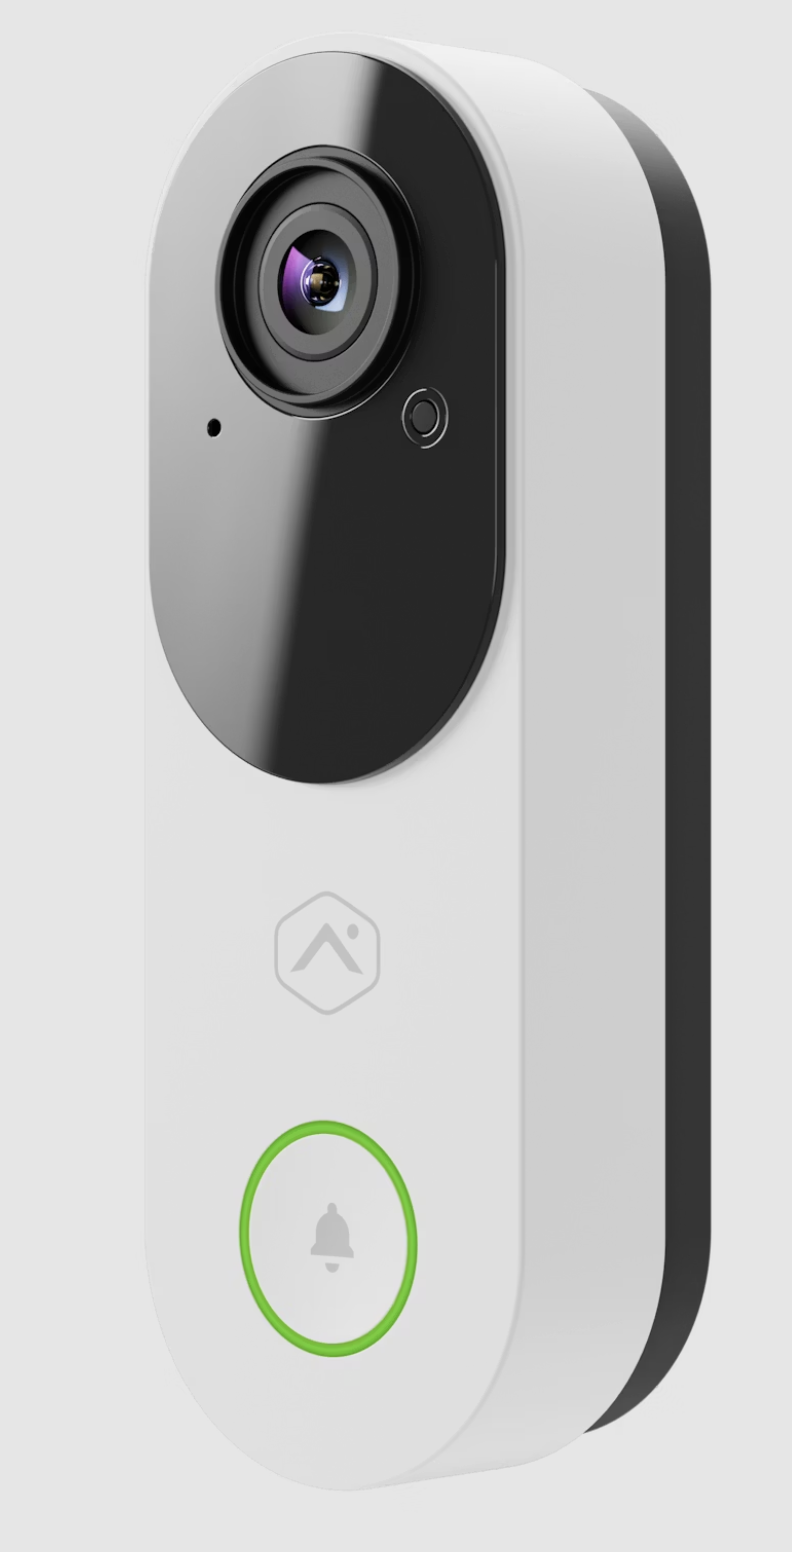
This articles shows the step-by-step process for setting up the new alarm.com video doorbells (ADC-VDB775) that use bluetooth enrollment to get on the WIFI network. The bluetooth enrollment is for when the doorbell is NOT setup on a managed WIFI network by the property. Here is the picture of the doorbell to confirm it is the correct model (if doorbell has a square front go to THIS ARTICLE for setup for the ADC-VDB750 model):
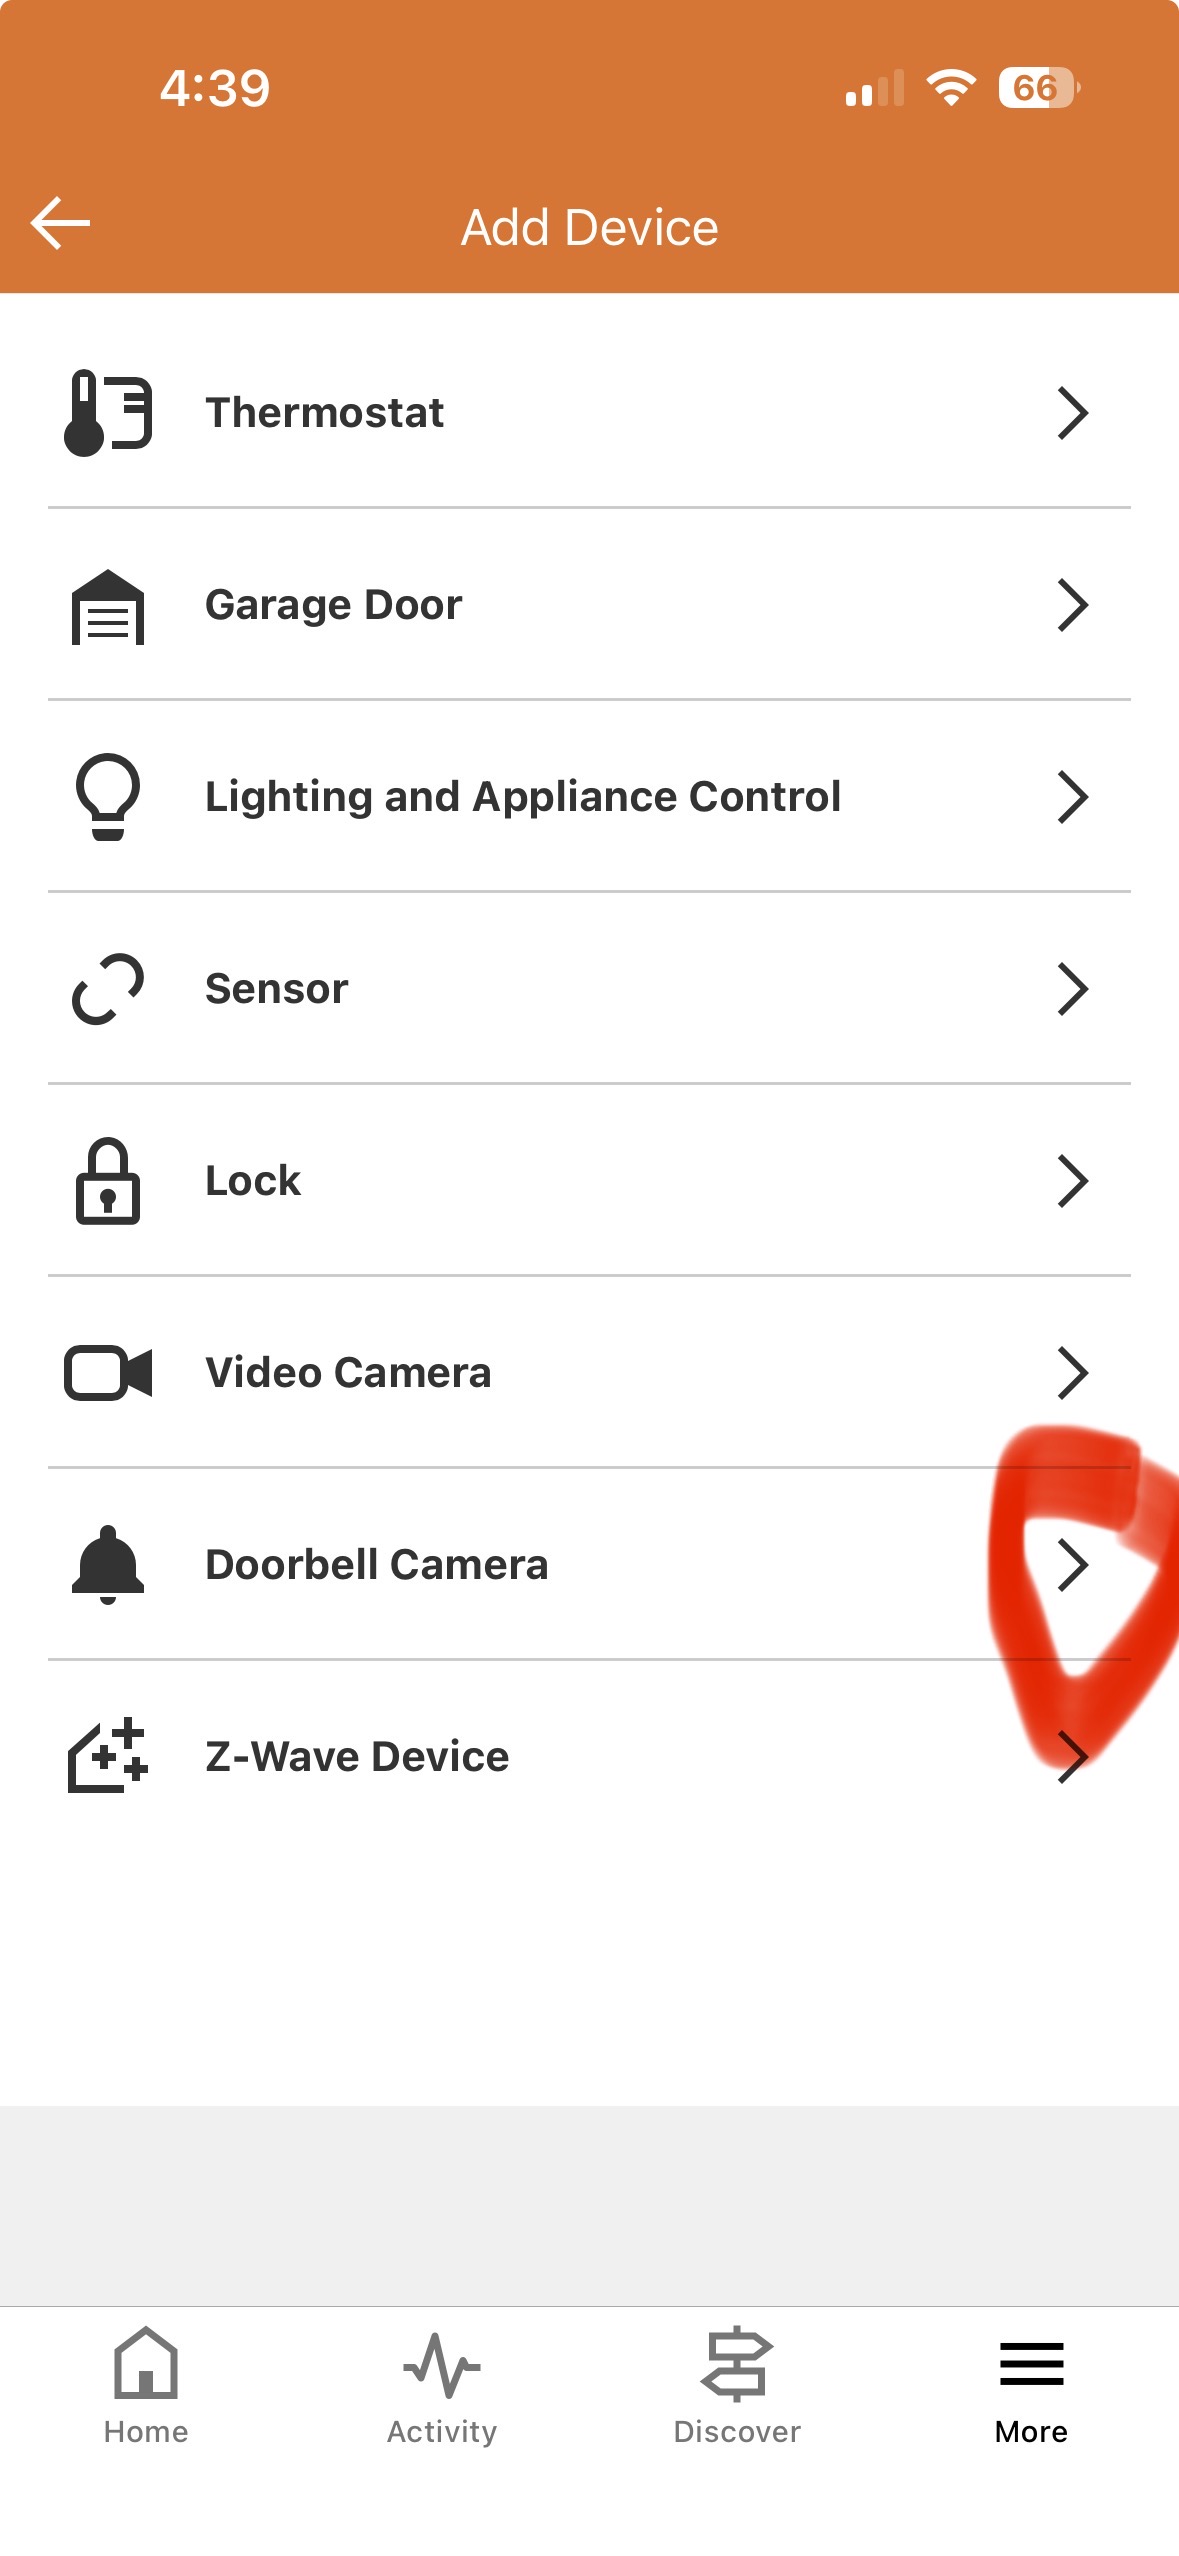
1) In the app, click on the "More" button in the bottom corner of the main page, then select "Doorbell Camera"
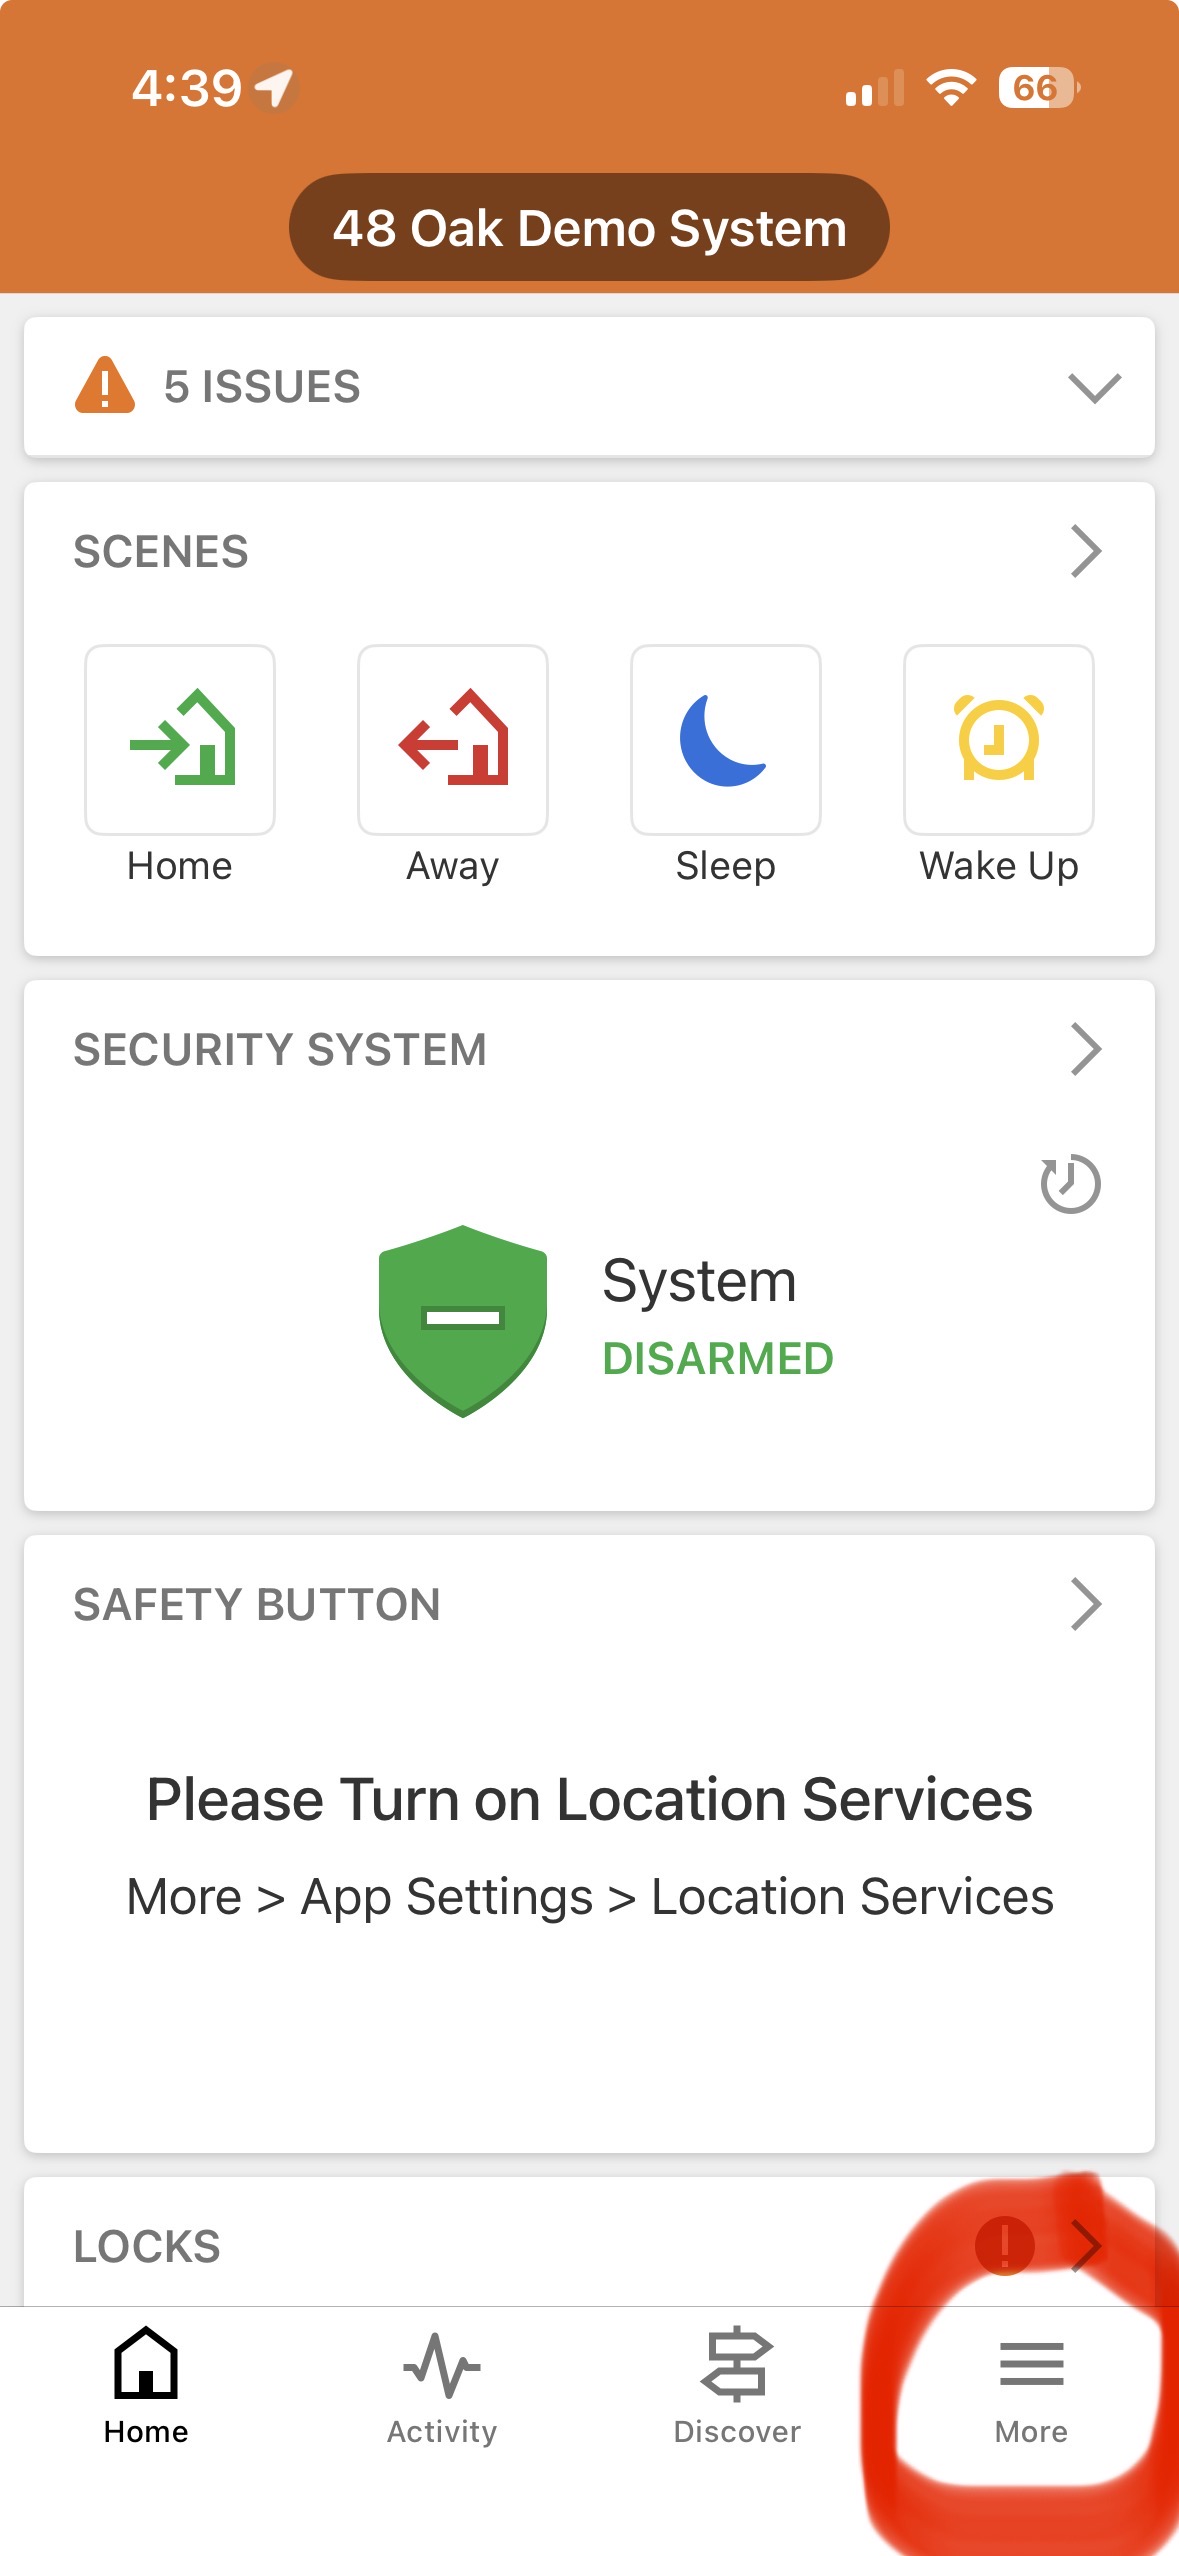 .
. 
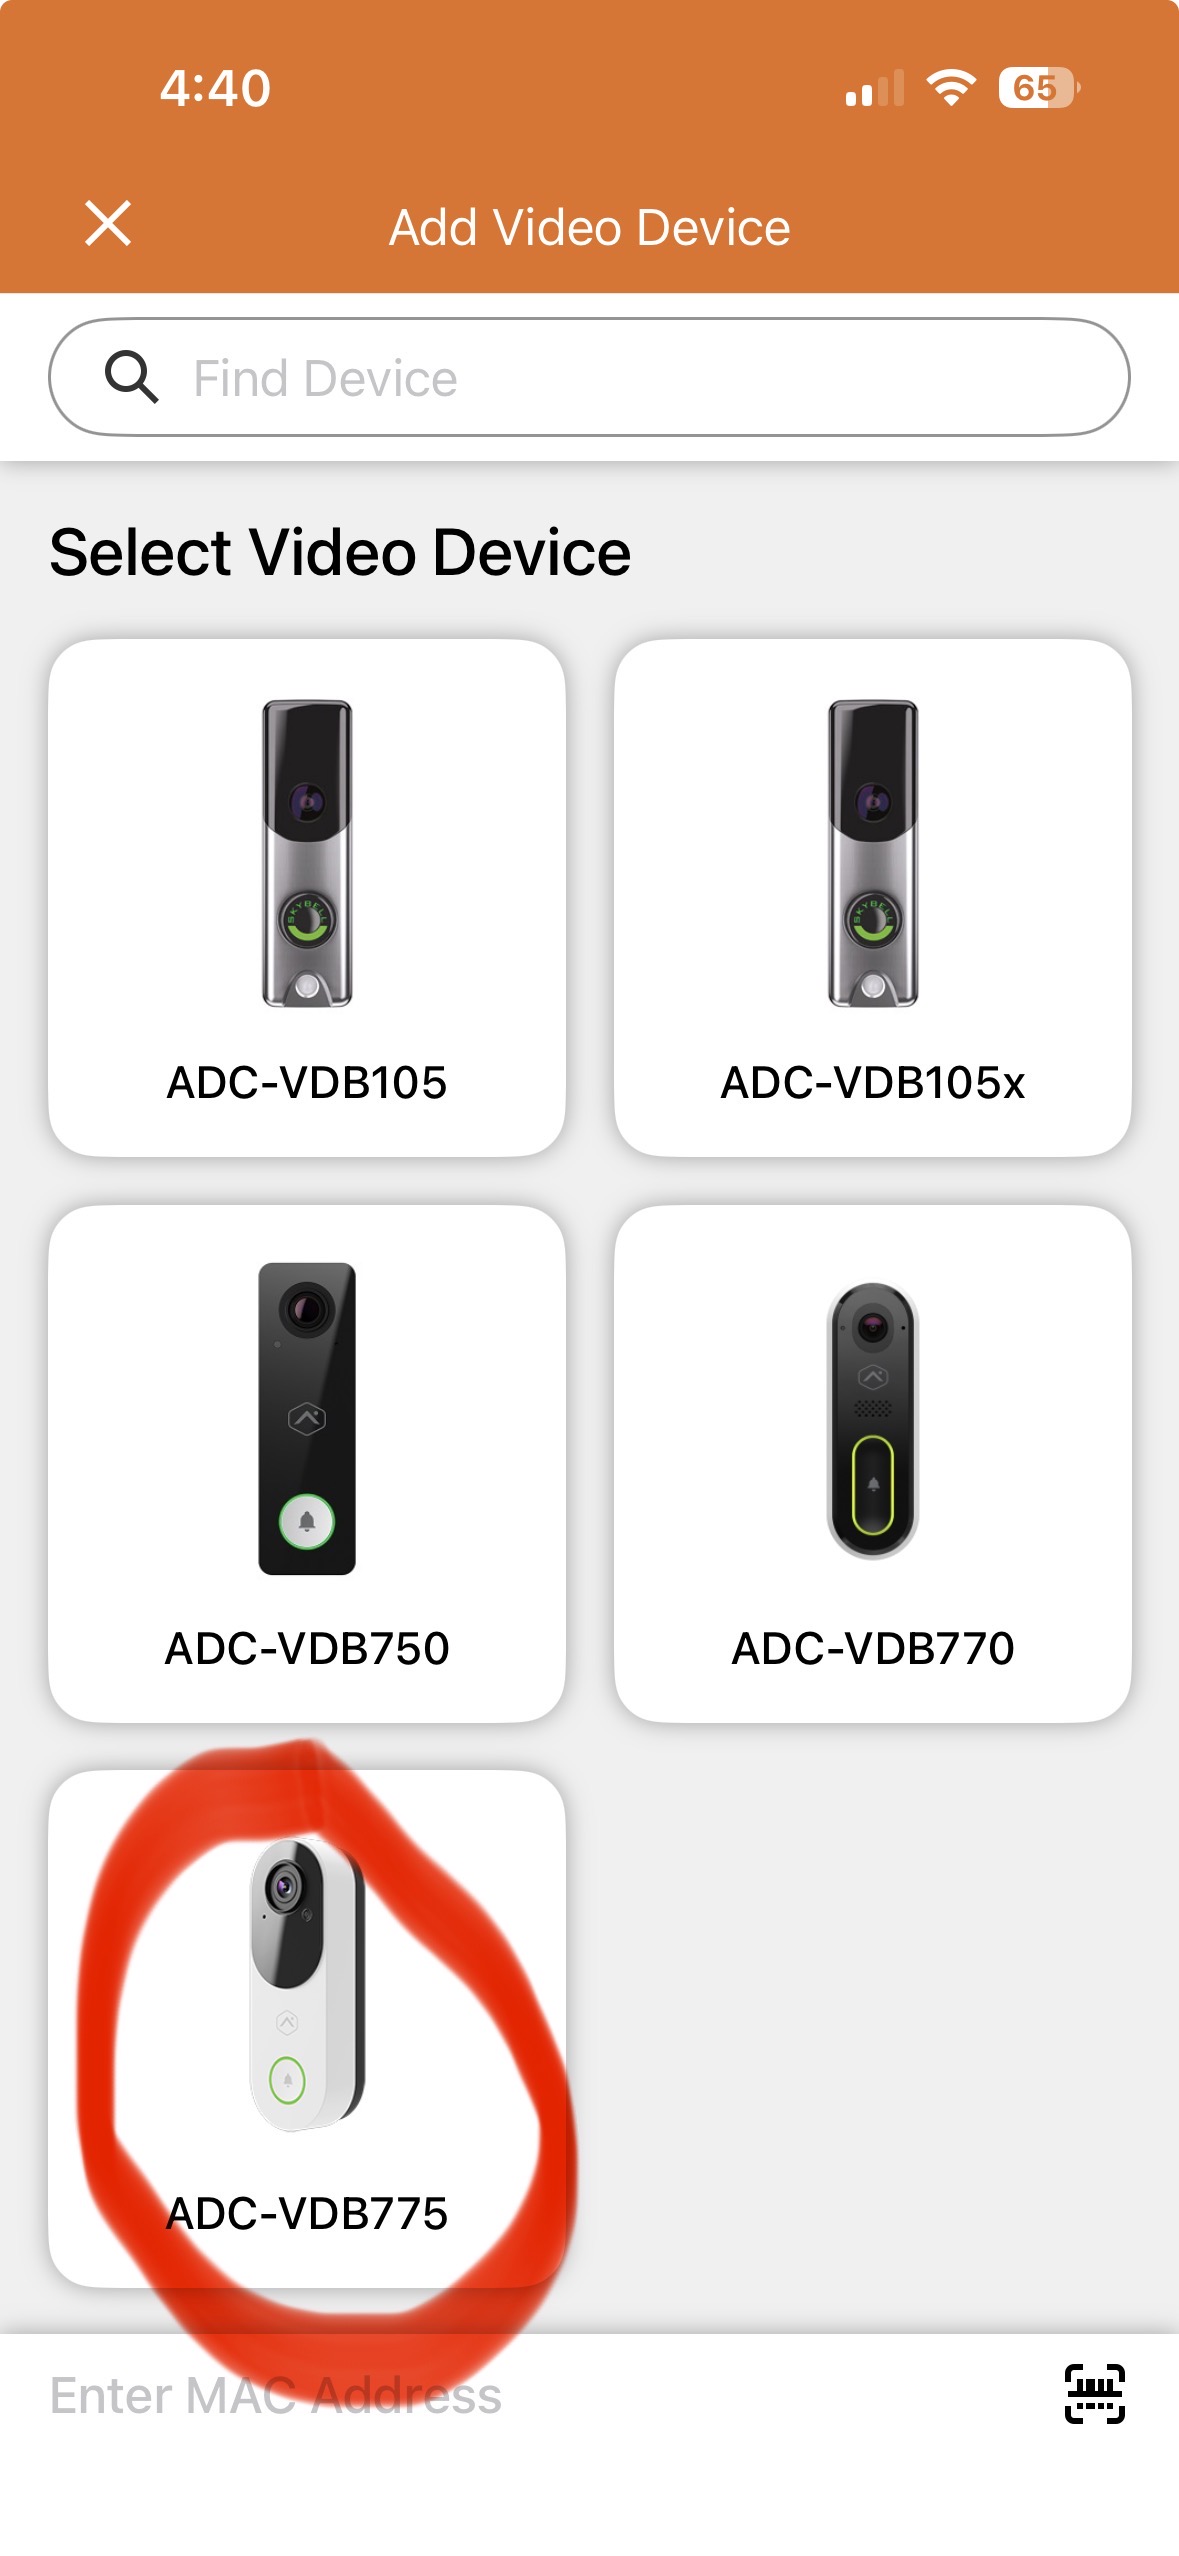
2) Select "ADC-VDB775"
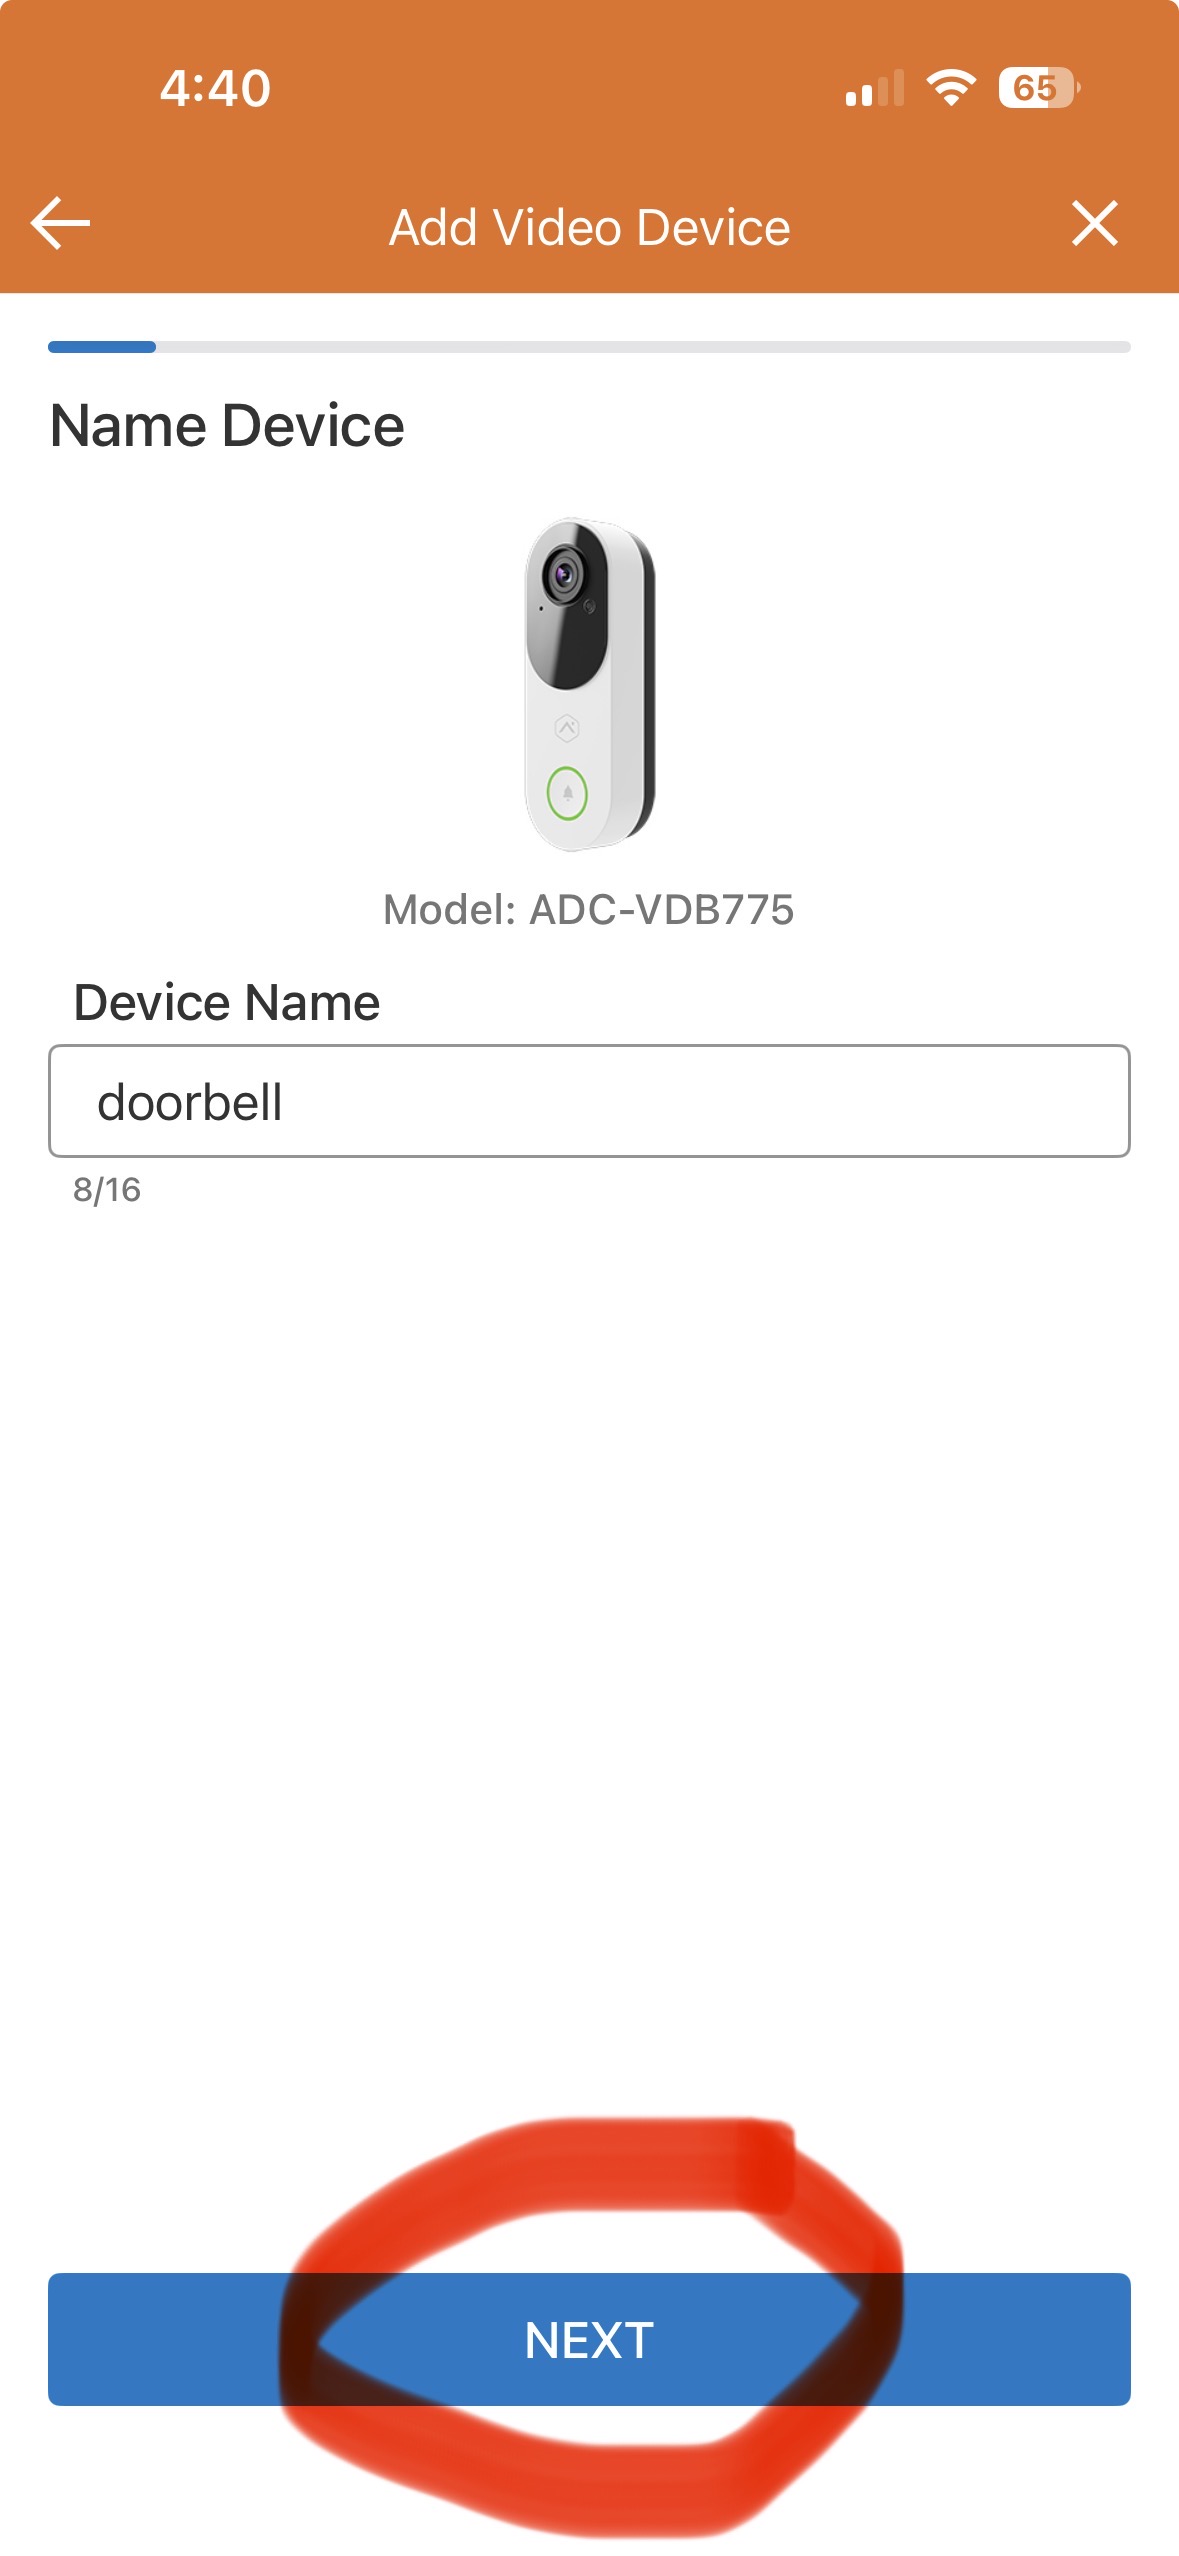
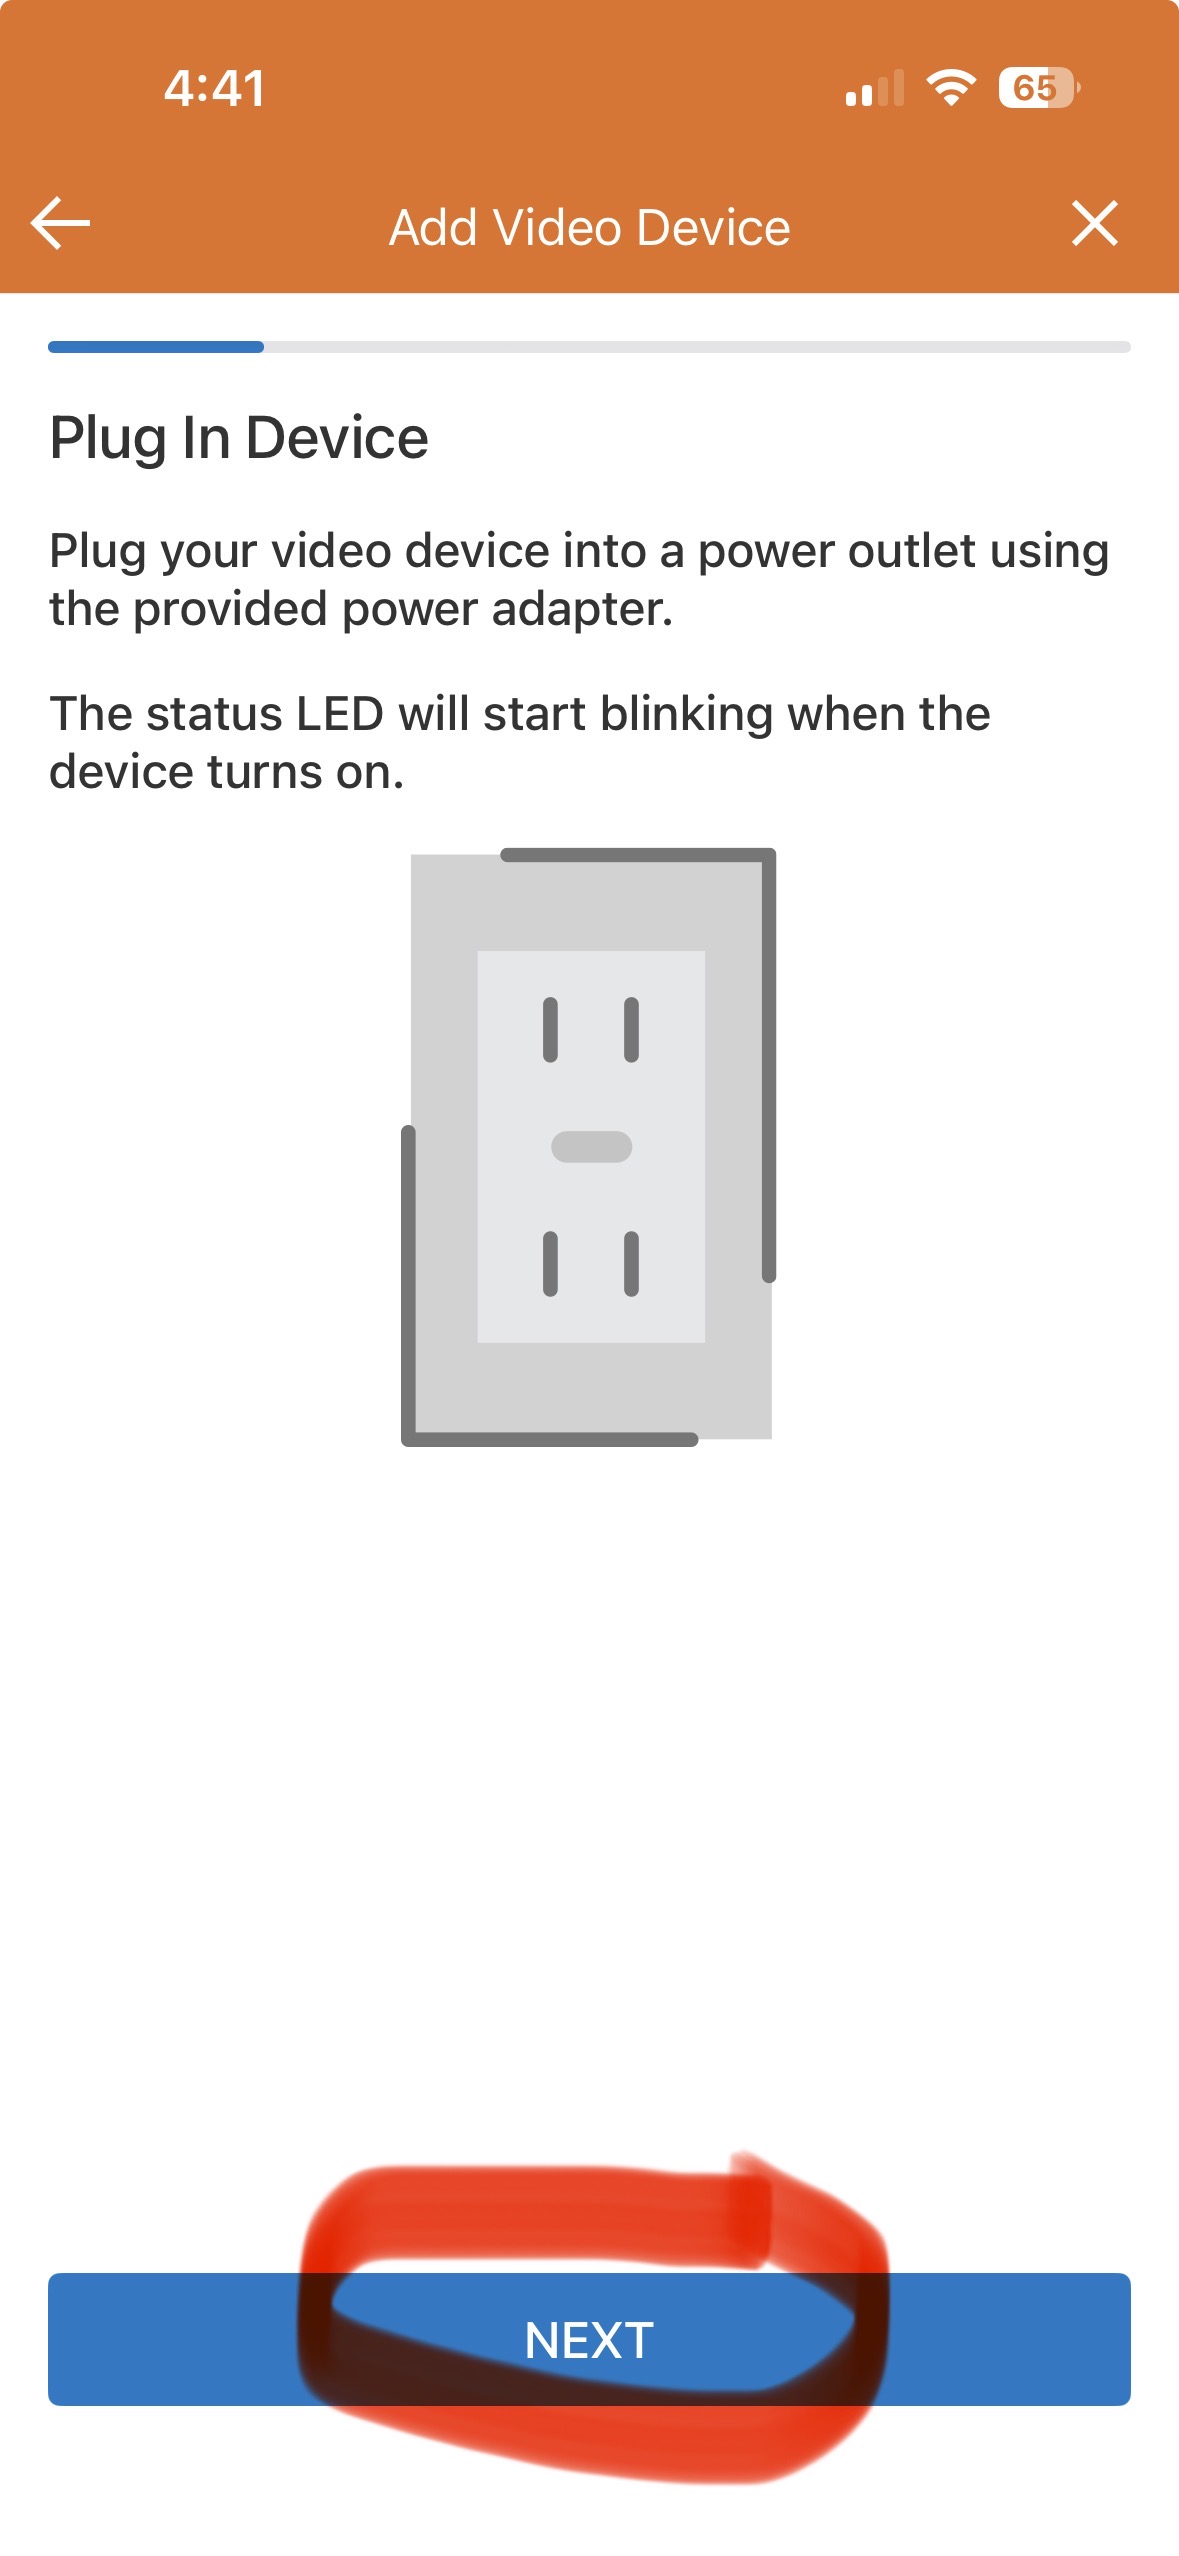
3) Name the device, then click "Next", then power up the device (if not already powered) and select "Next"
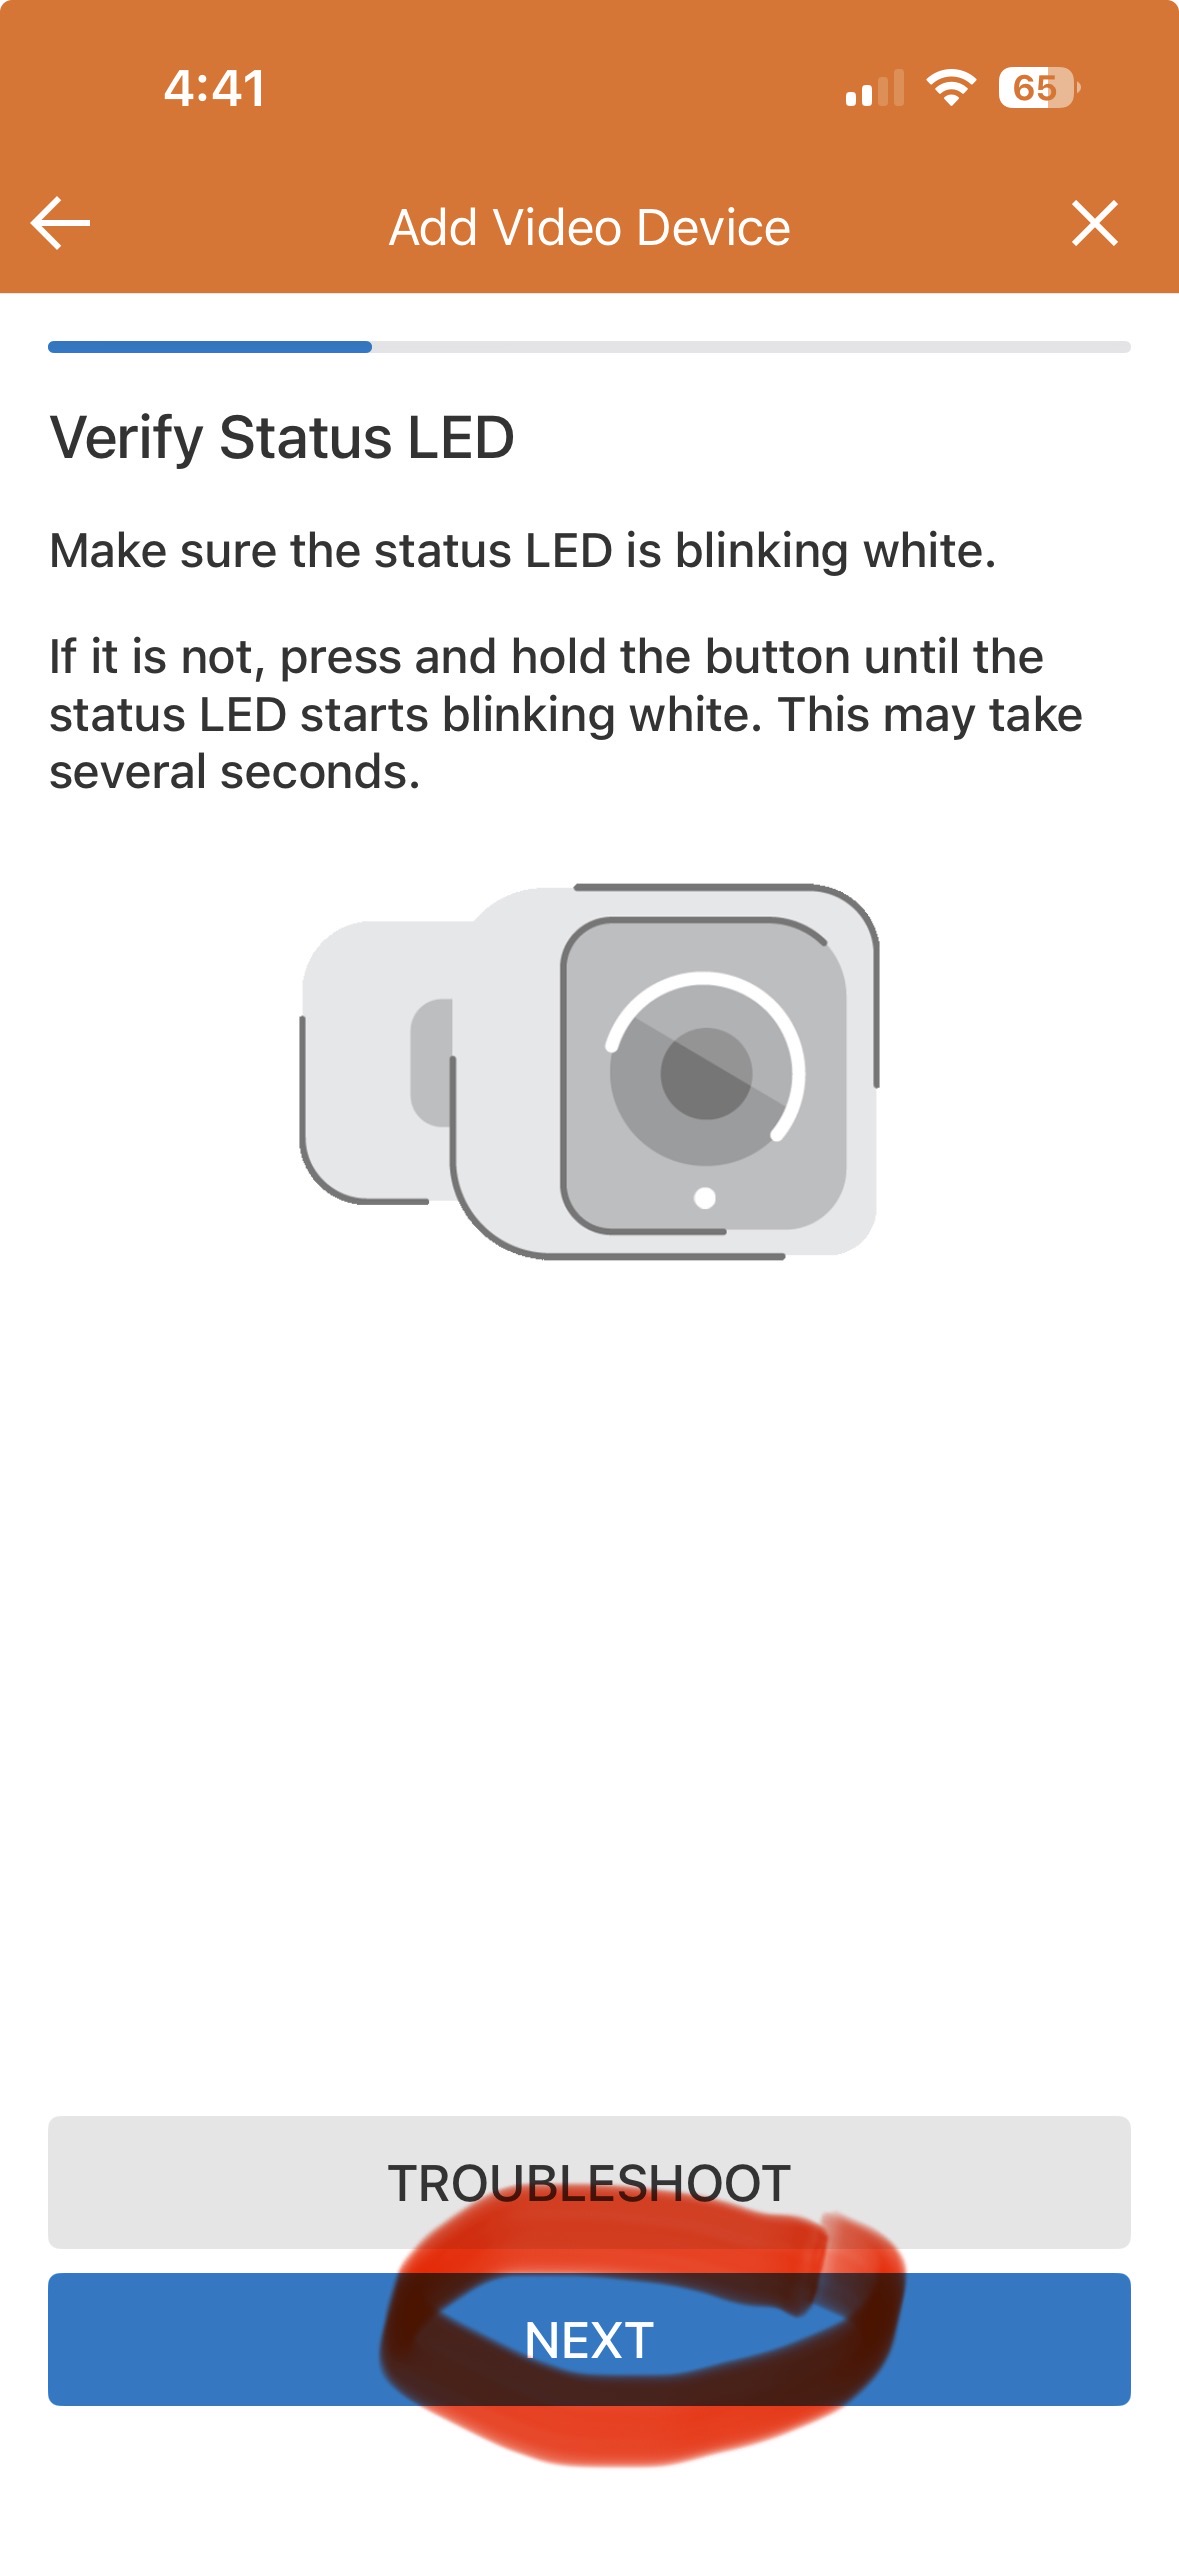
4) Verify doorbell LED is flashing WHITE and select "Next", otherwise select the troubleshoot button and follow steps to get flashing white. NOTE- if doorbell is solid or flashing green it is connected to a WIFI network and just needs to be added to the App.
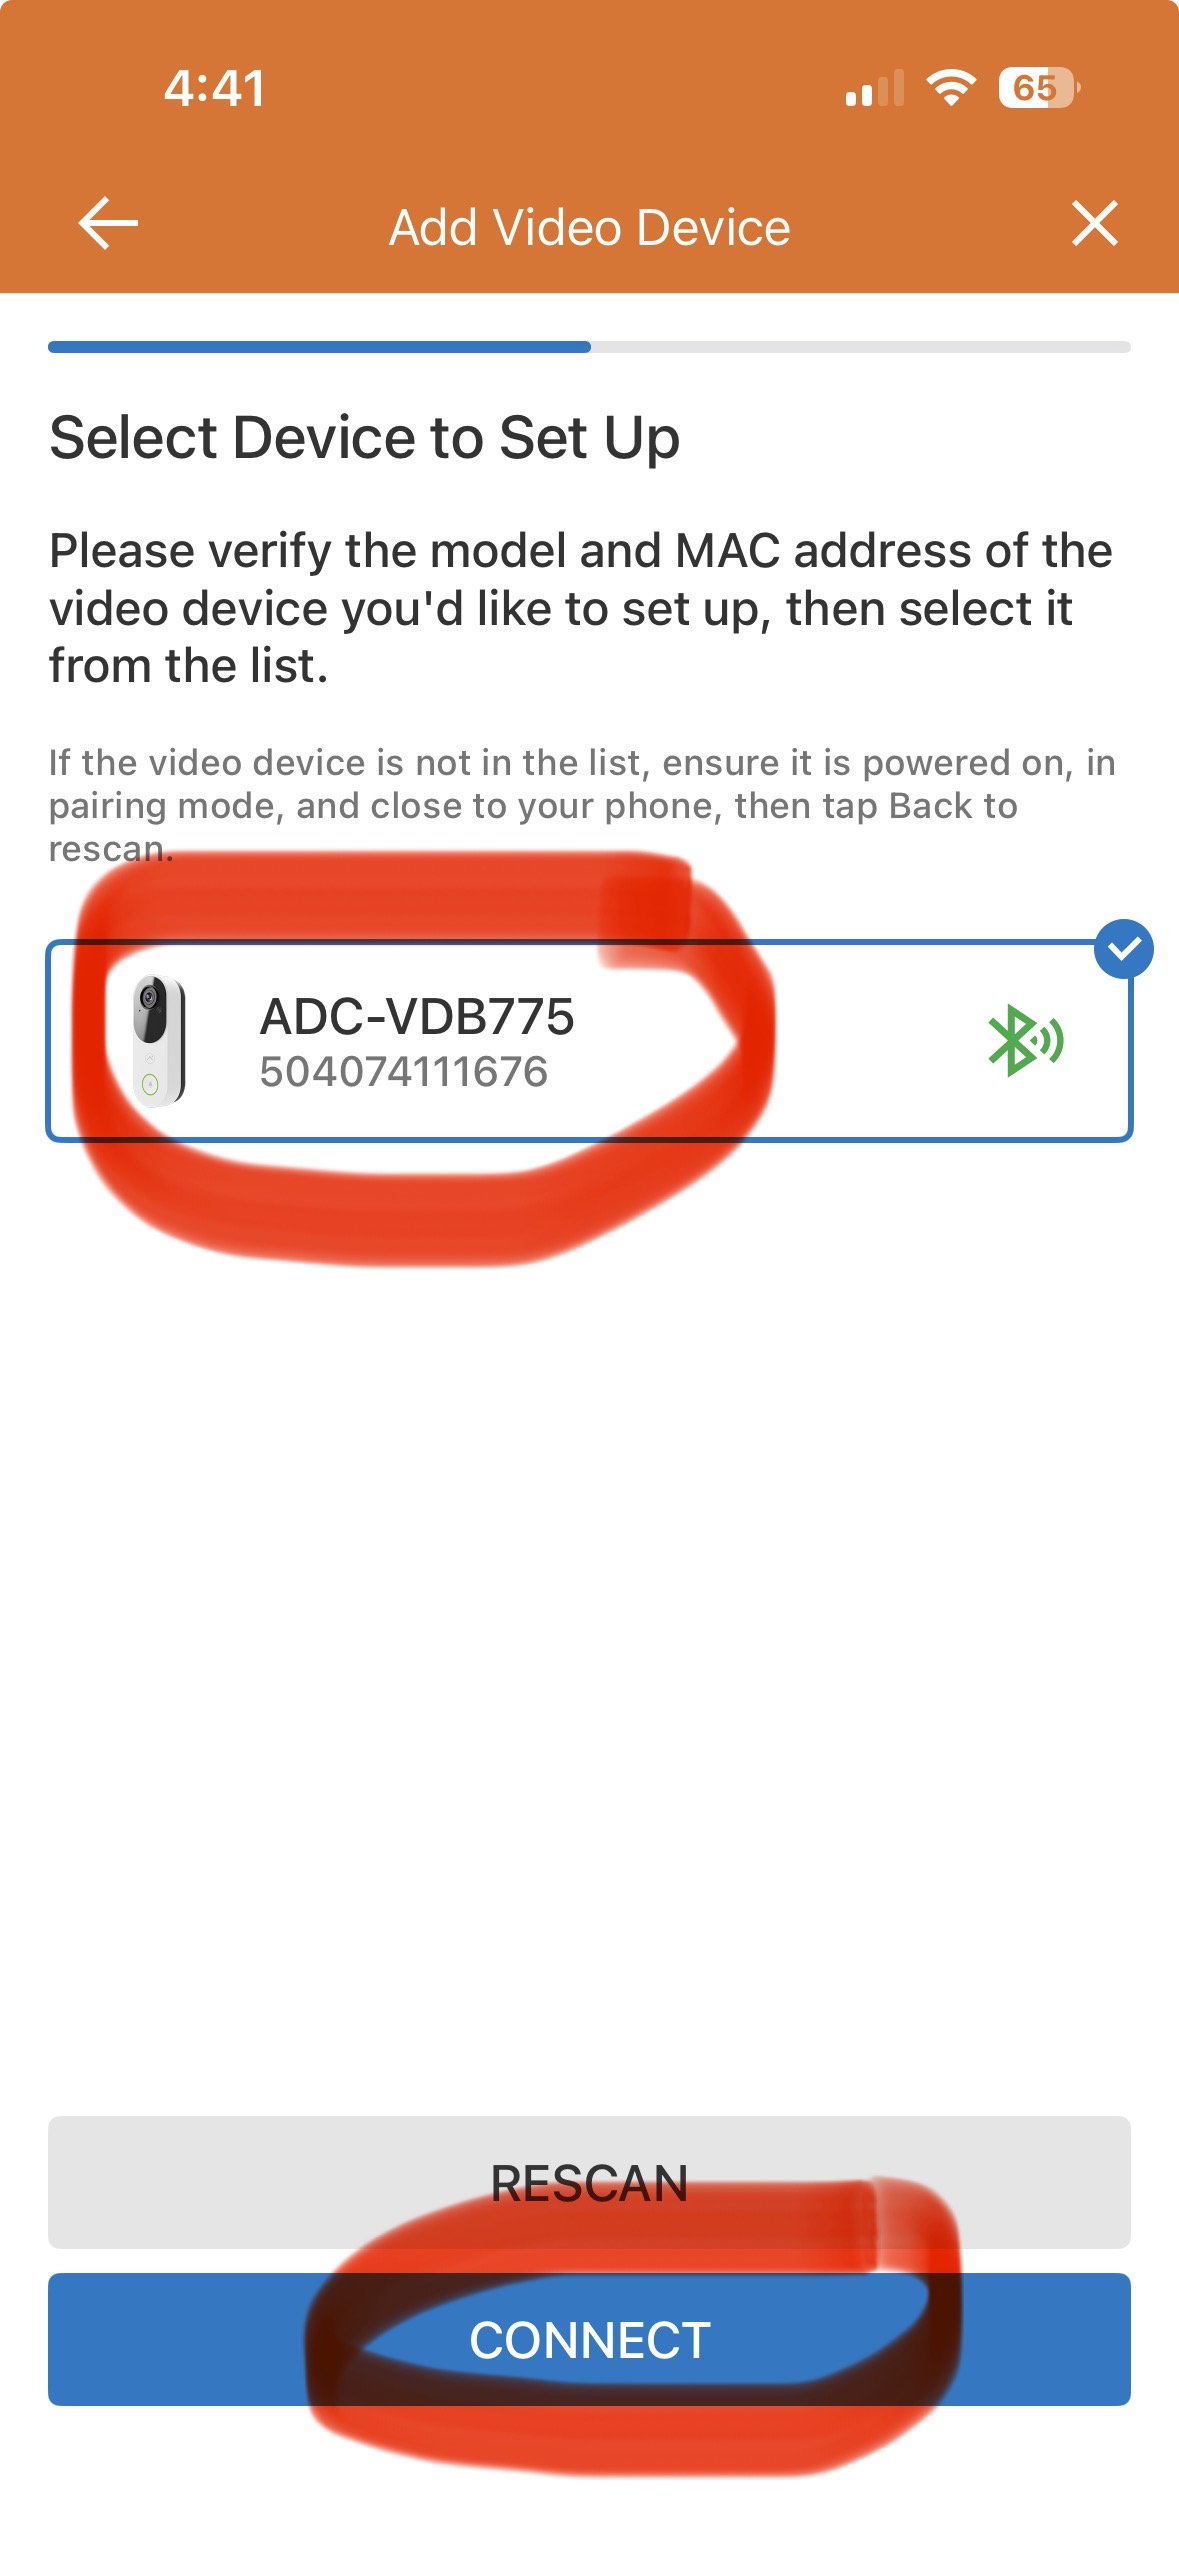
5) Select the correct doorbell then select "Connect". If multiple doorbells show up ask your property manager to confirm the MAC address for your unit. This can also be found on the back of the doorbell if you remove it from the wall.
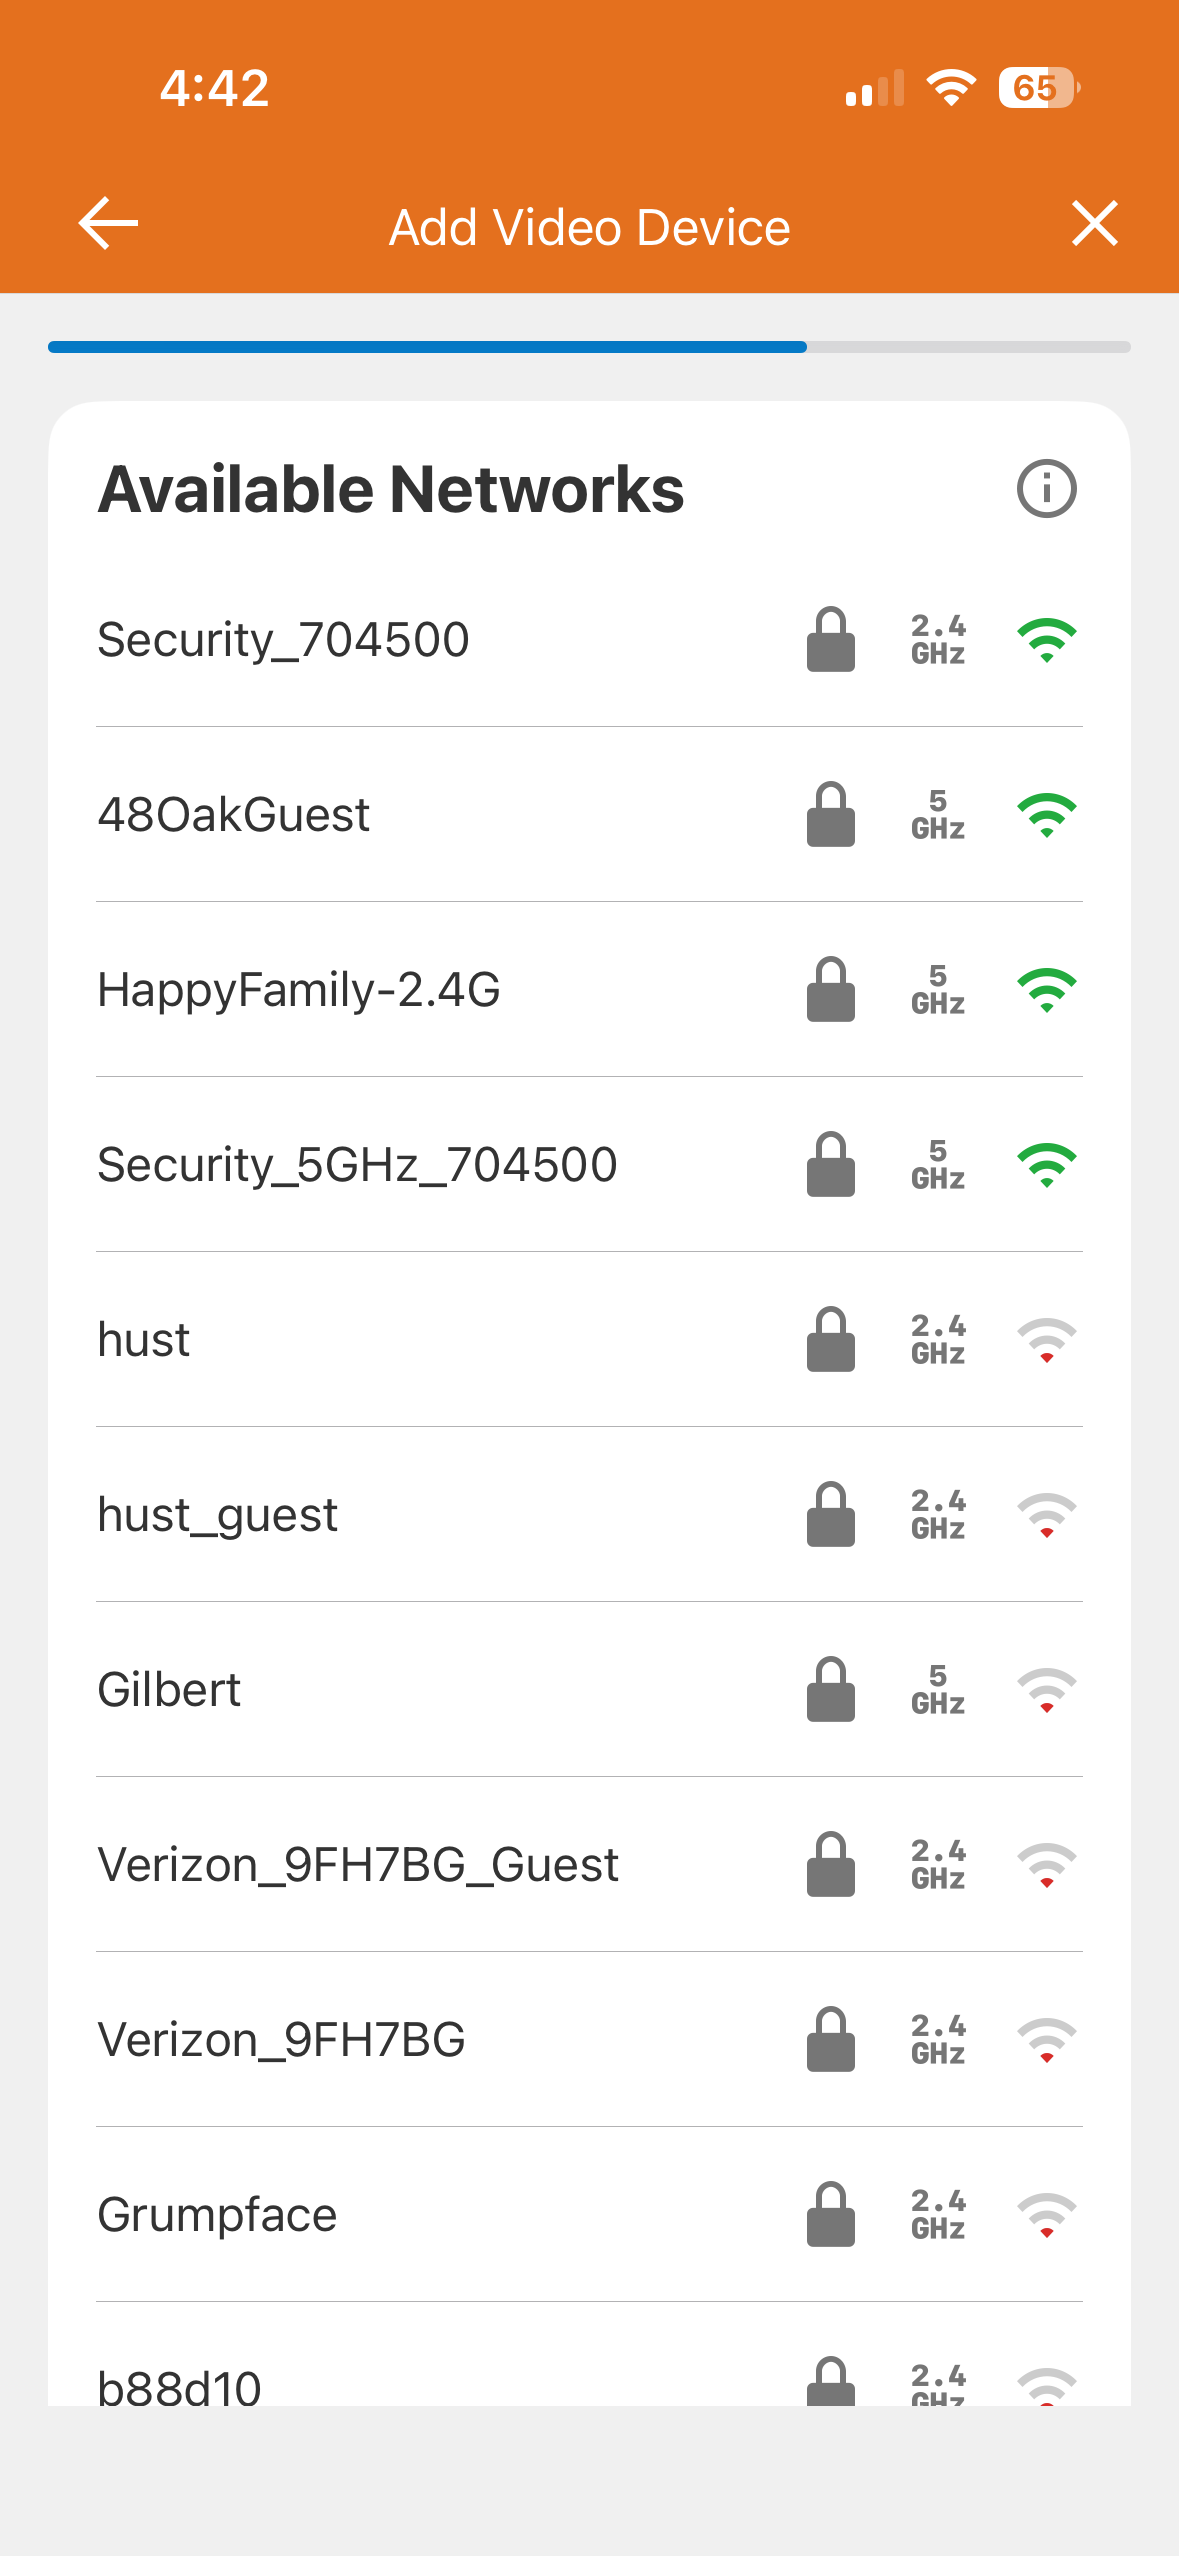
6) Scan the WIFI networks and then select the correct network and enter the password.
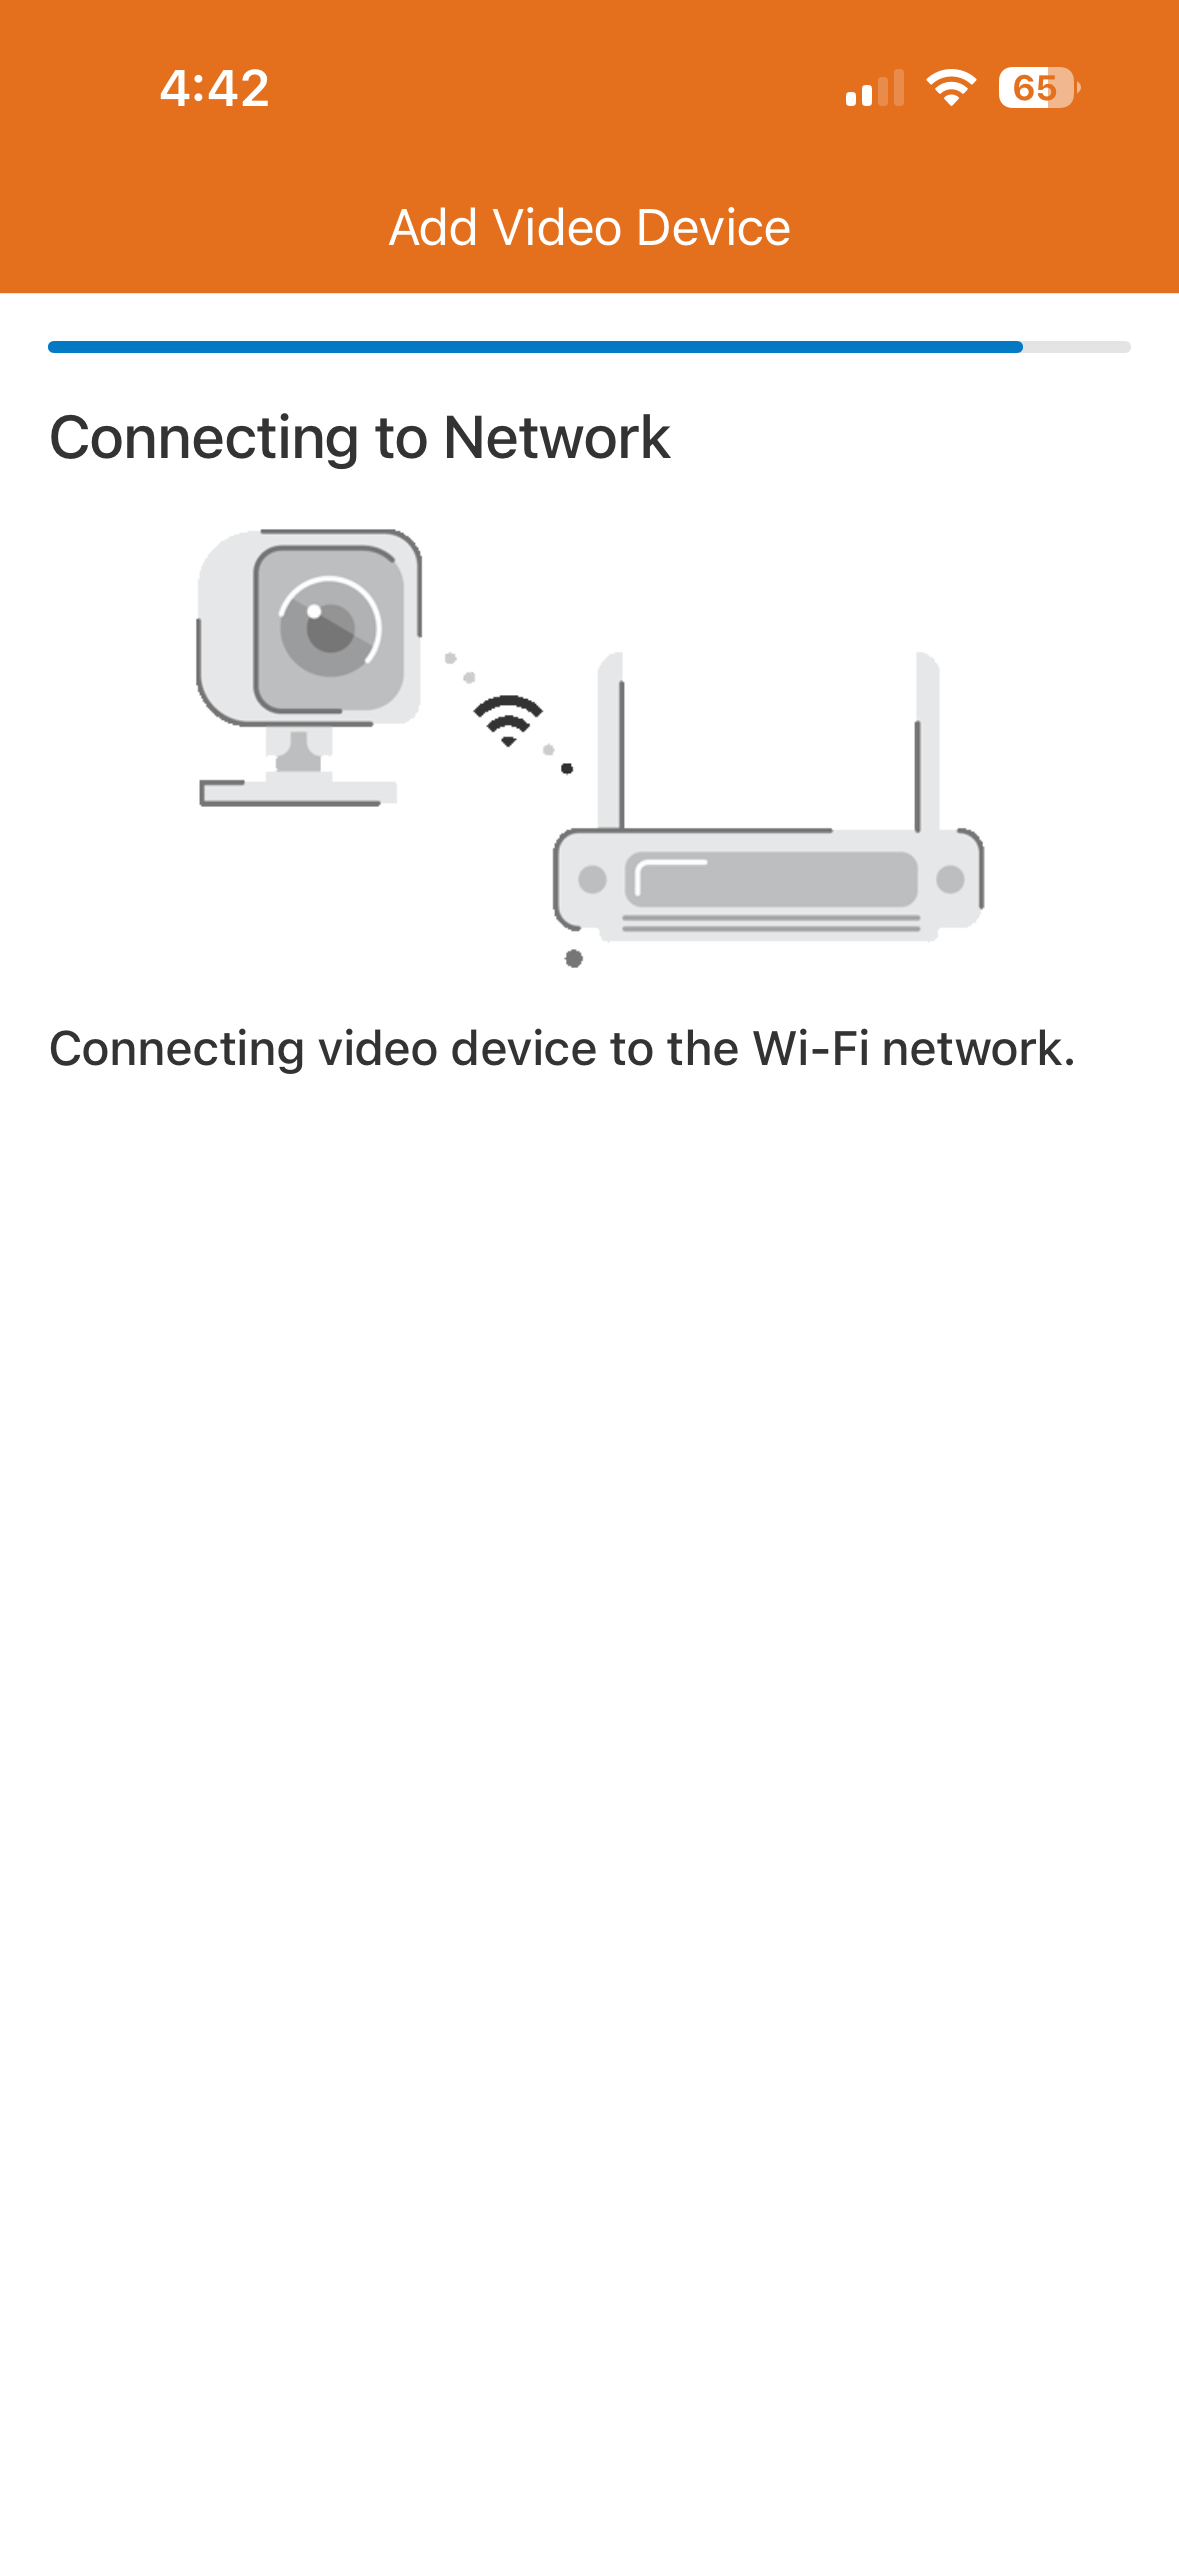
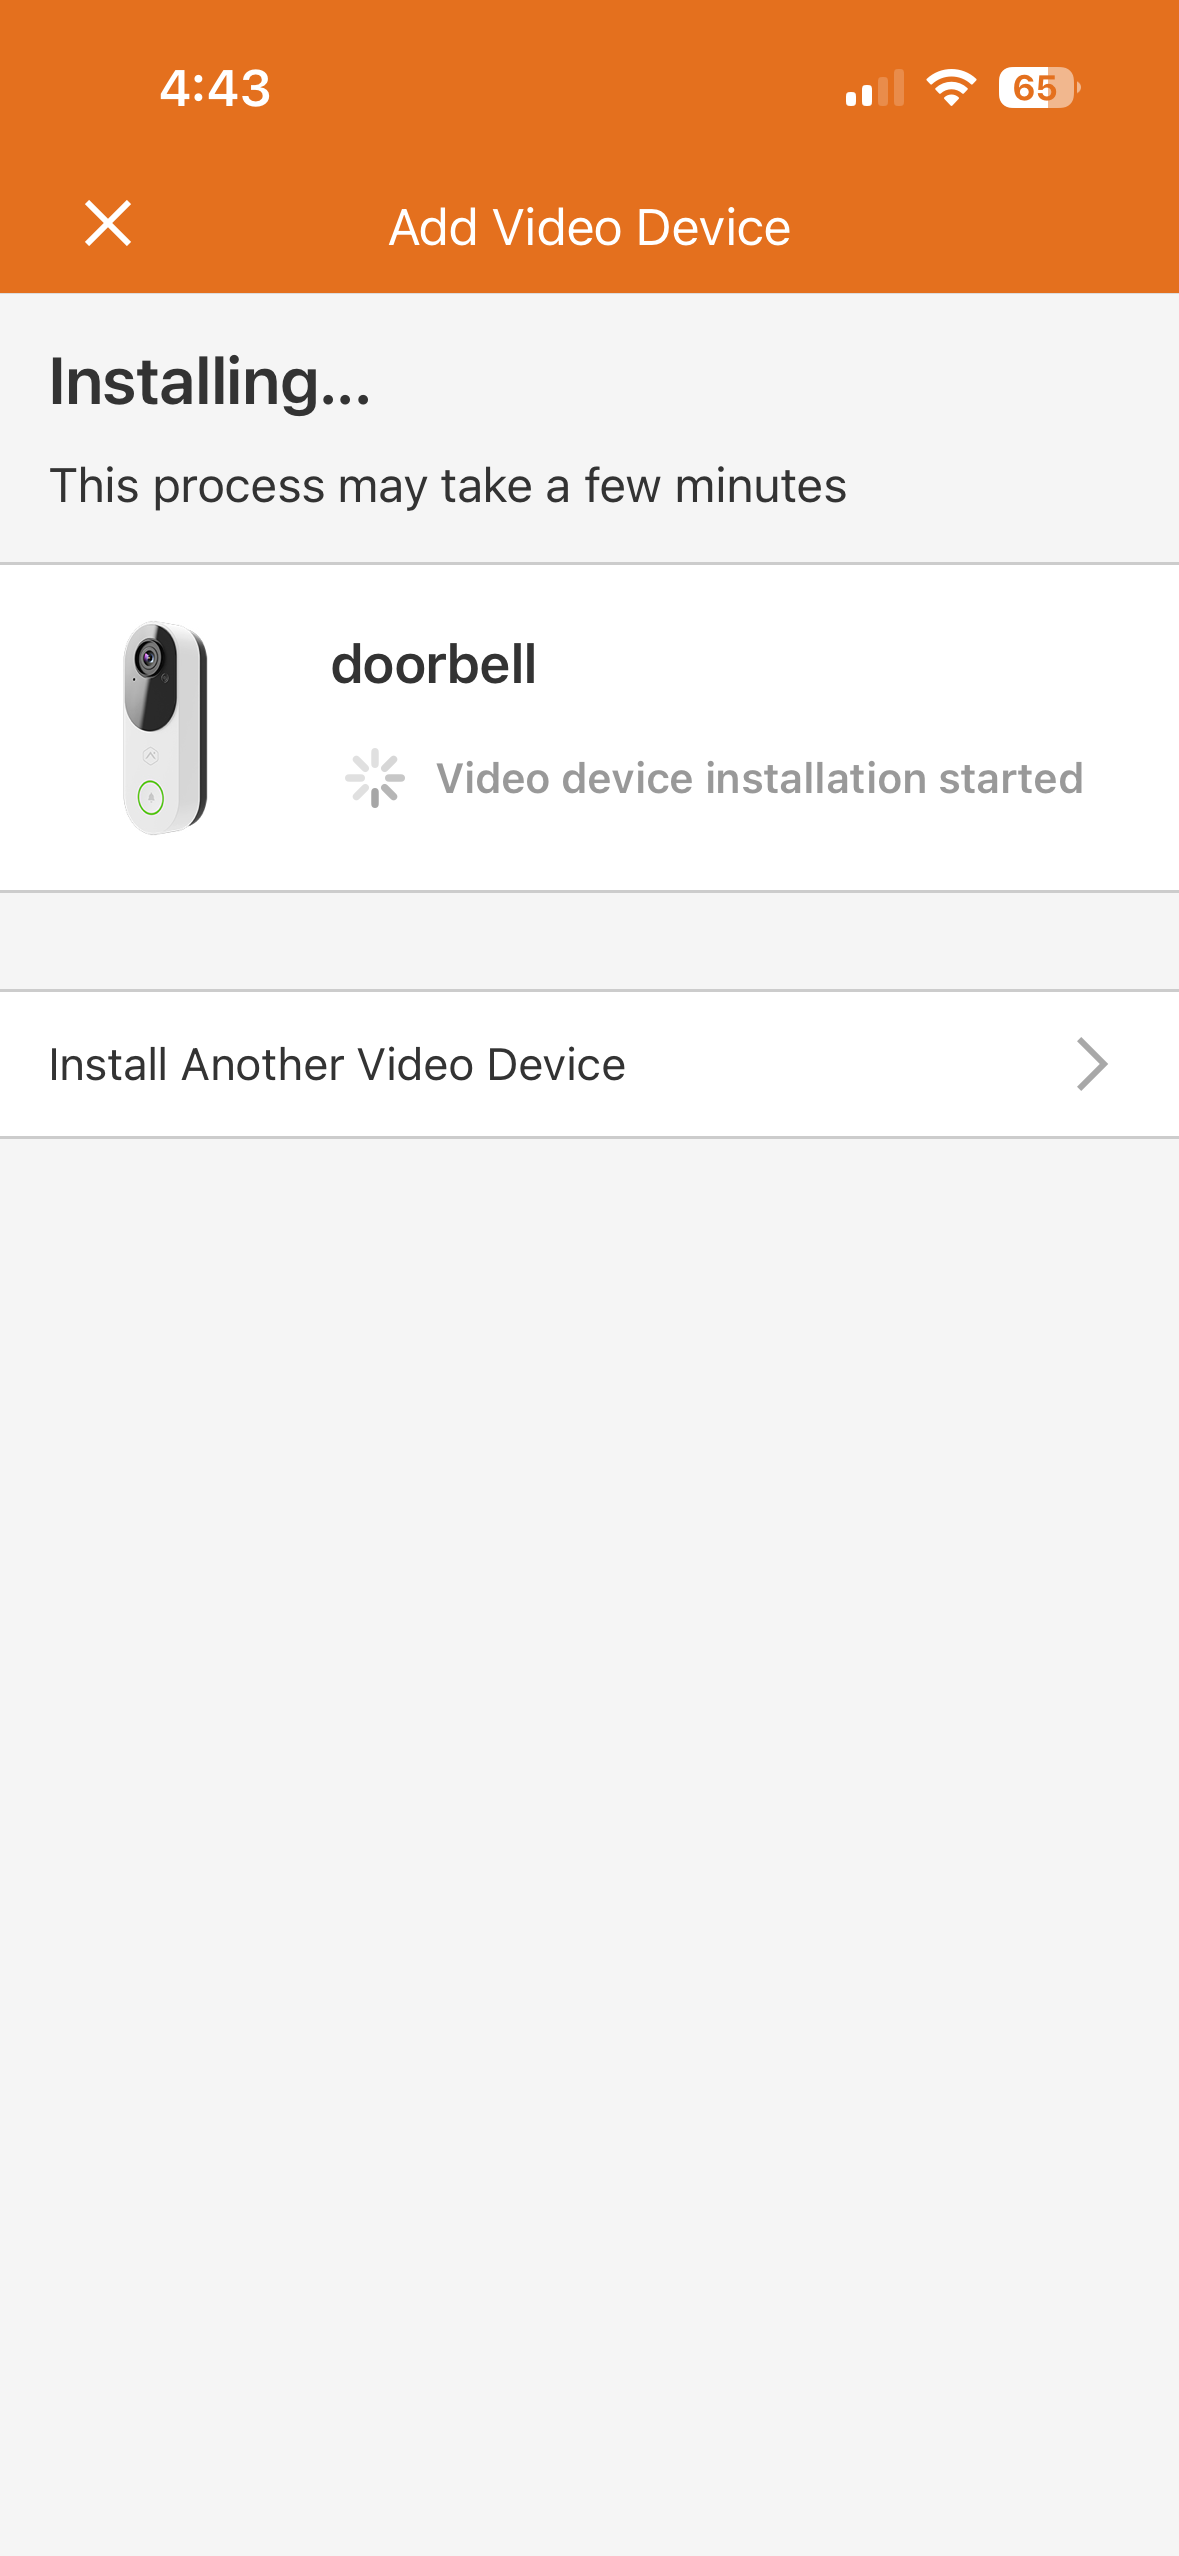
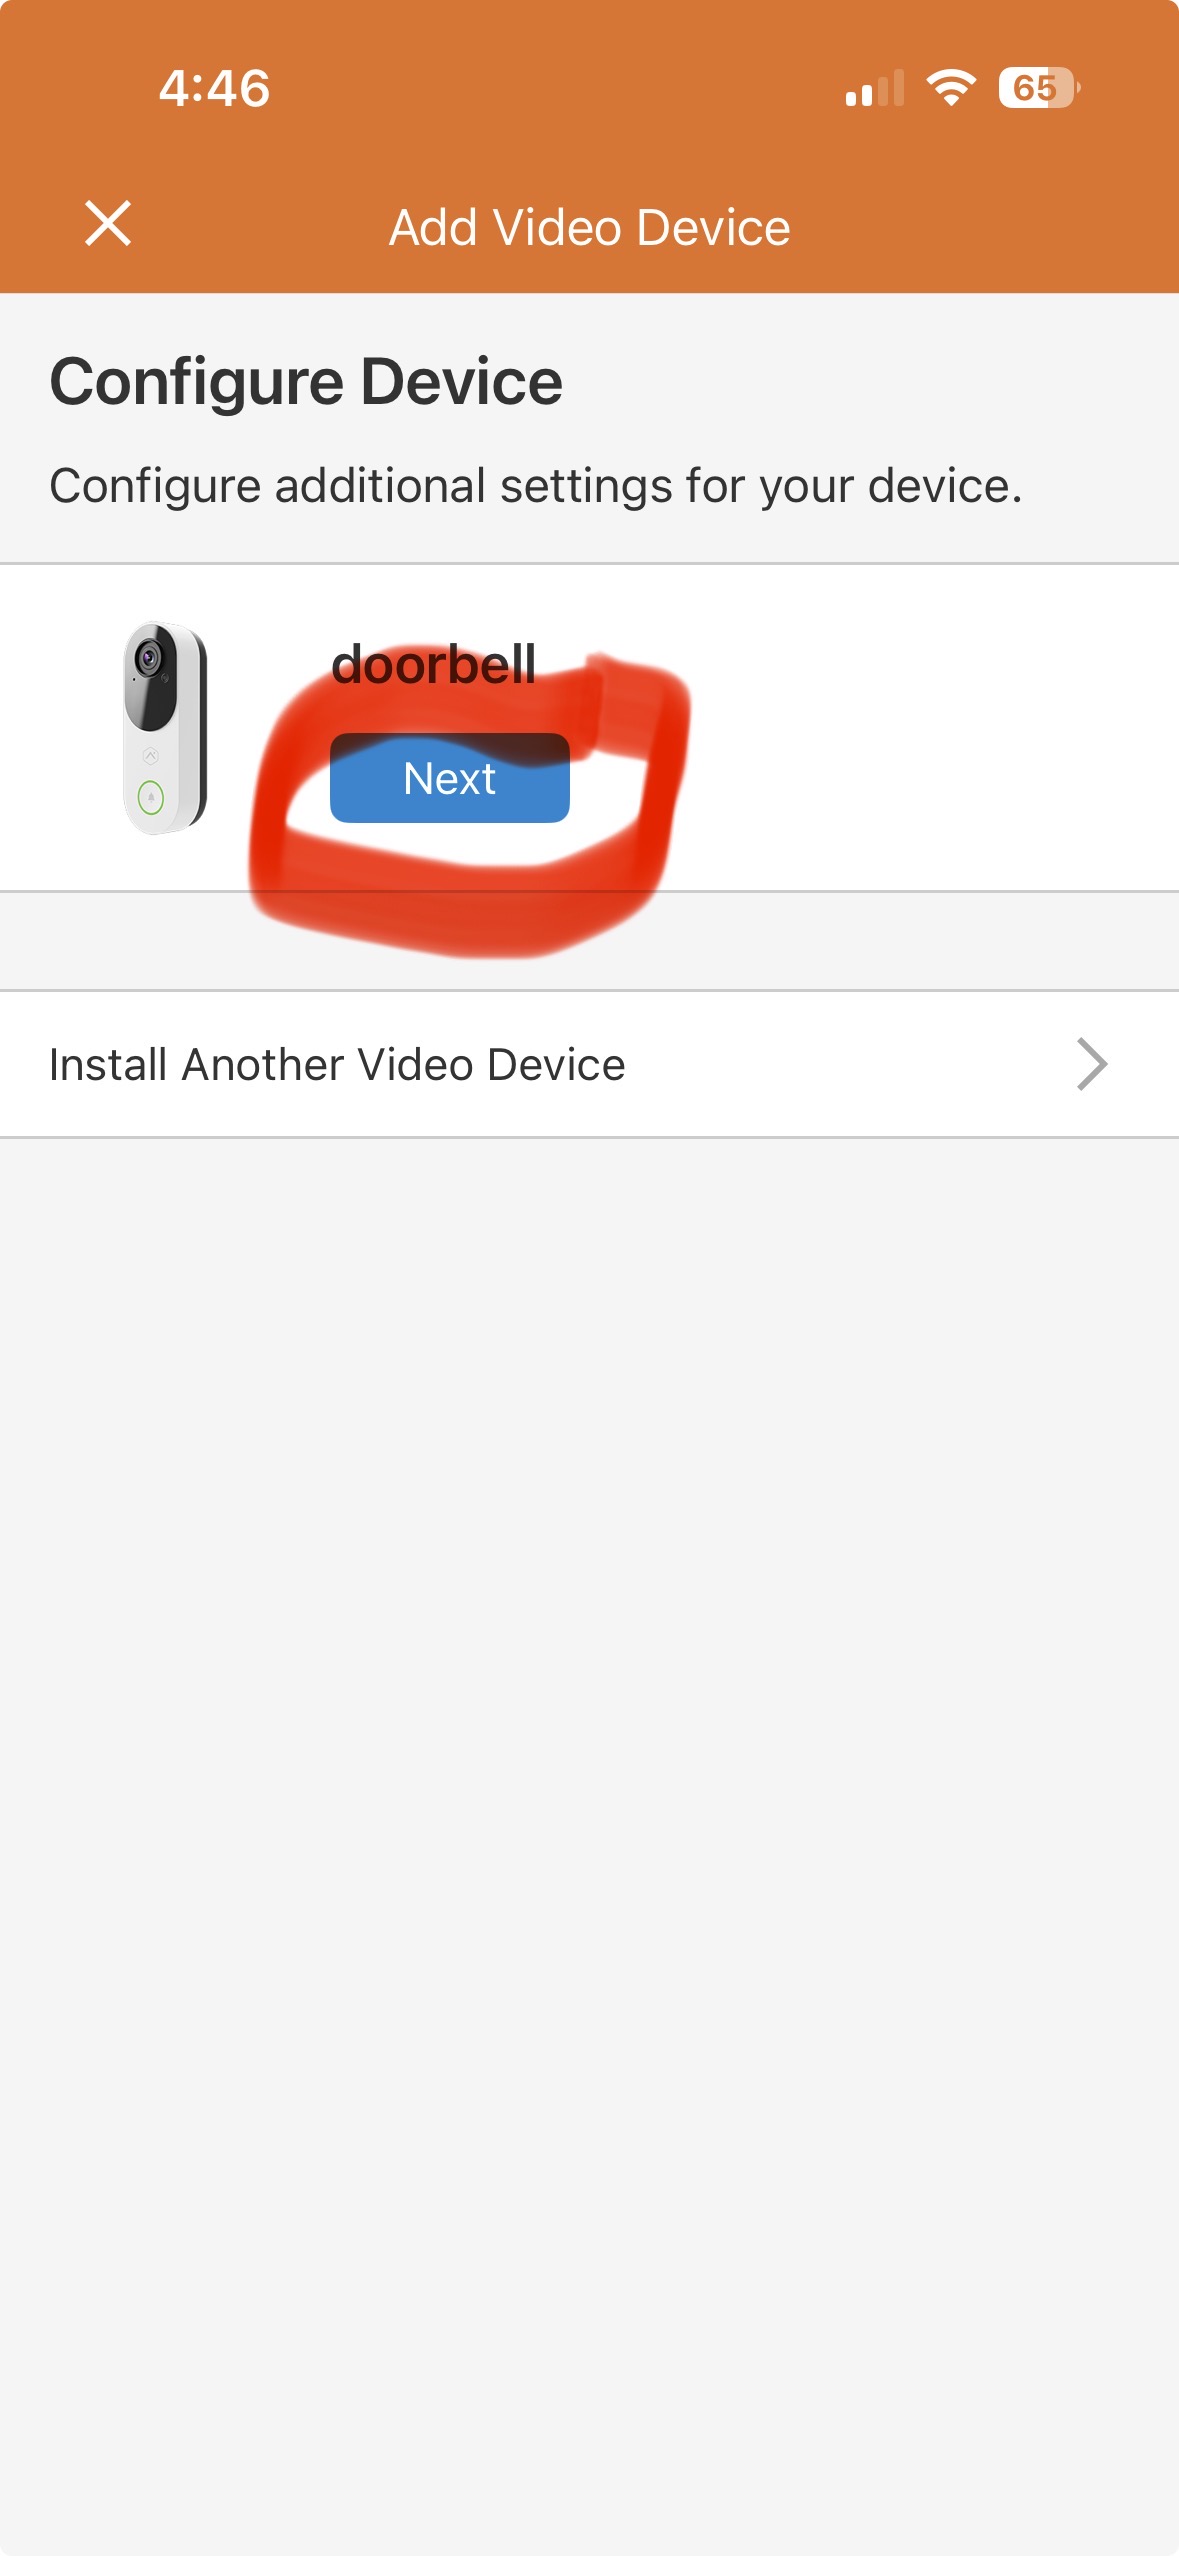
7) Device will take several minutes to setup and update firmware. Once setup is complete select "Next"
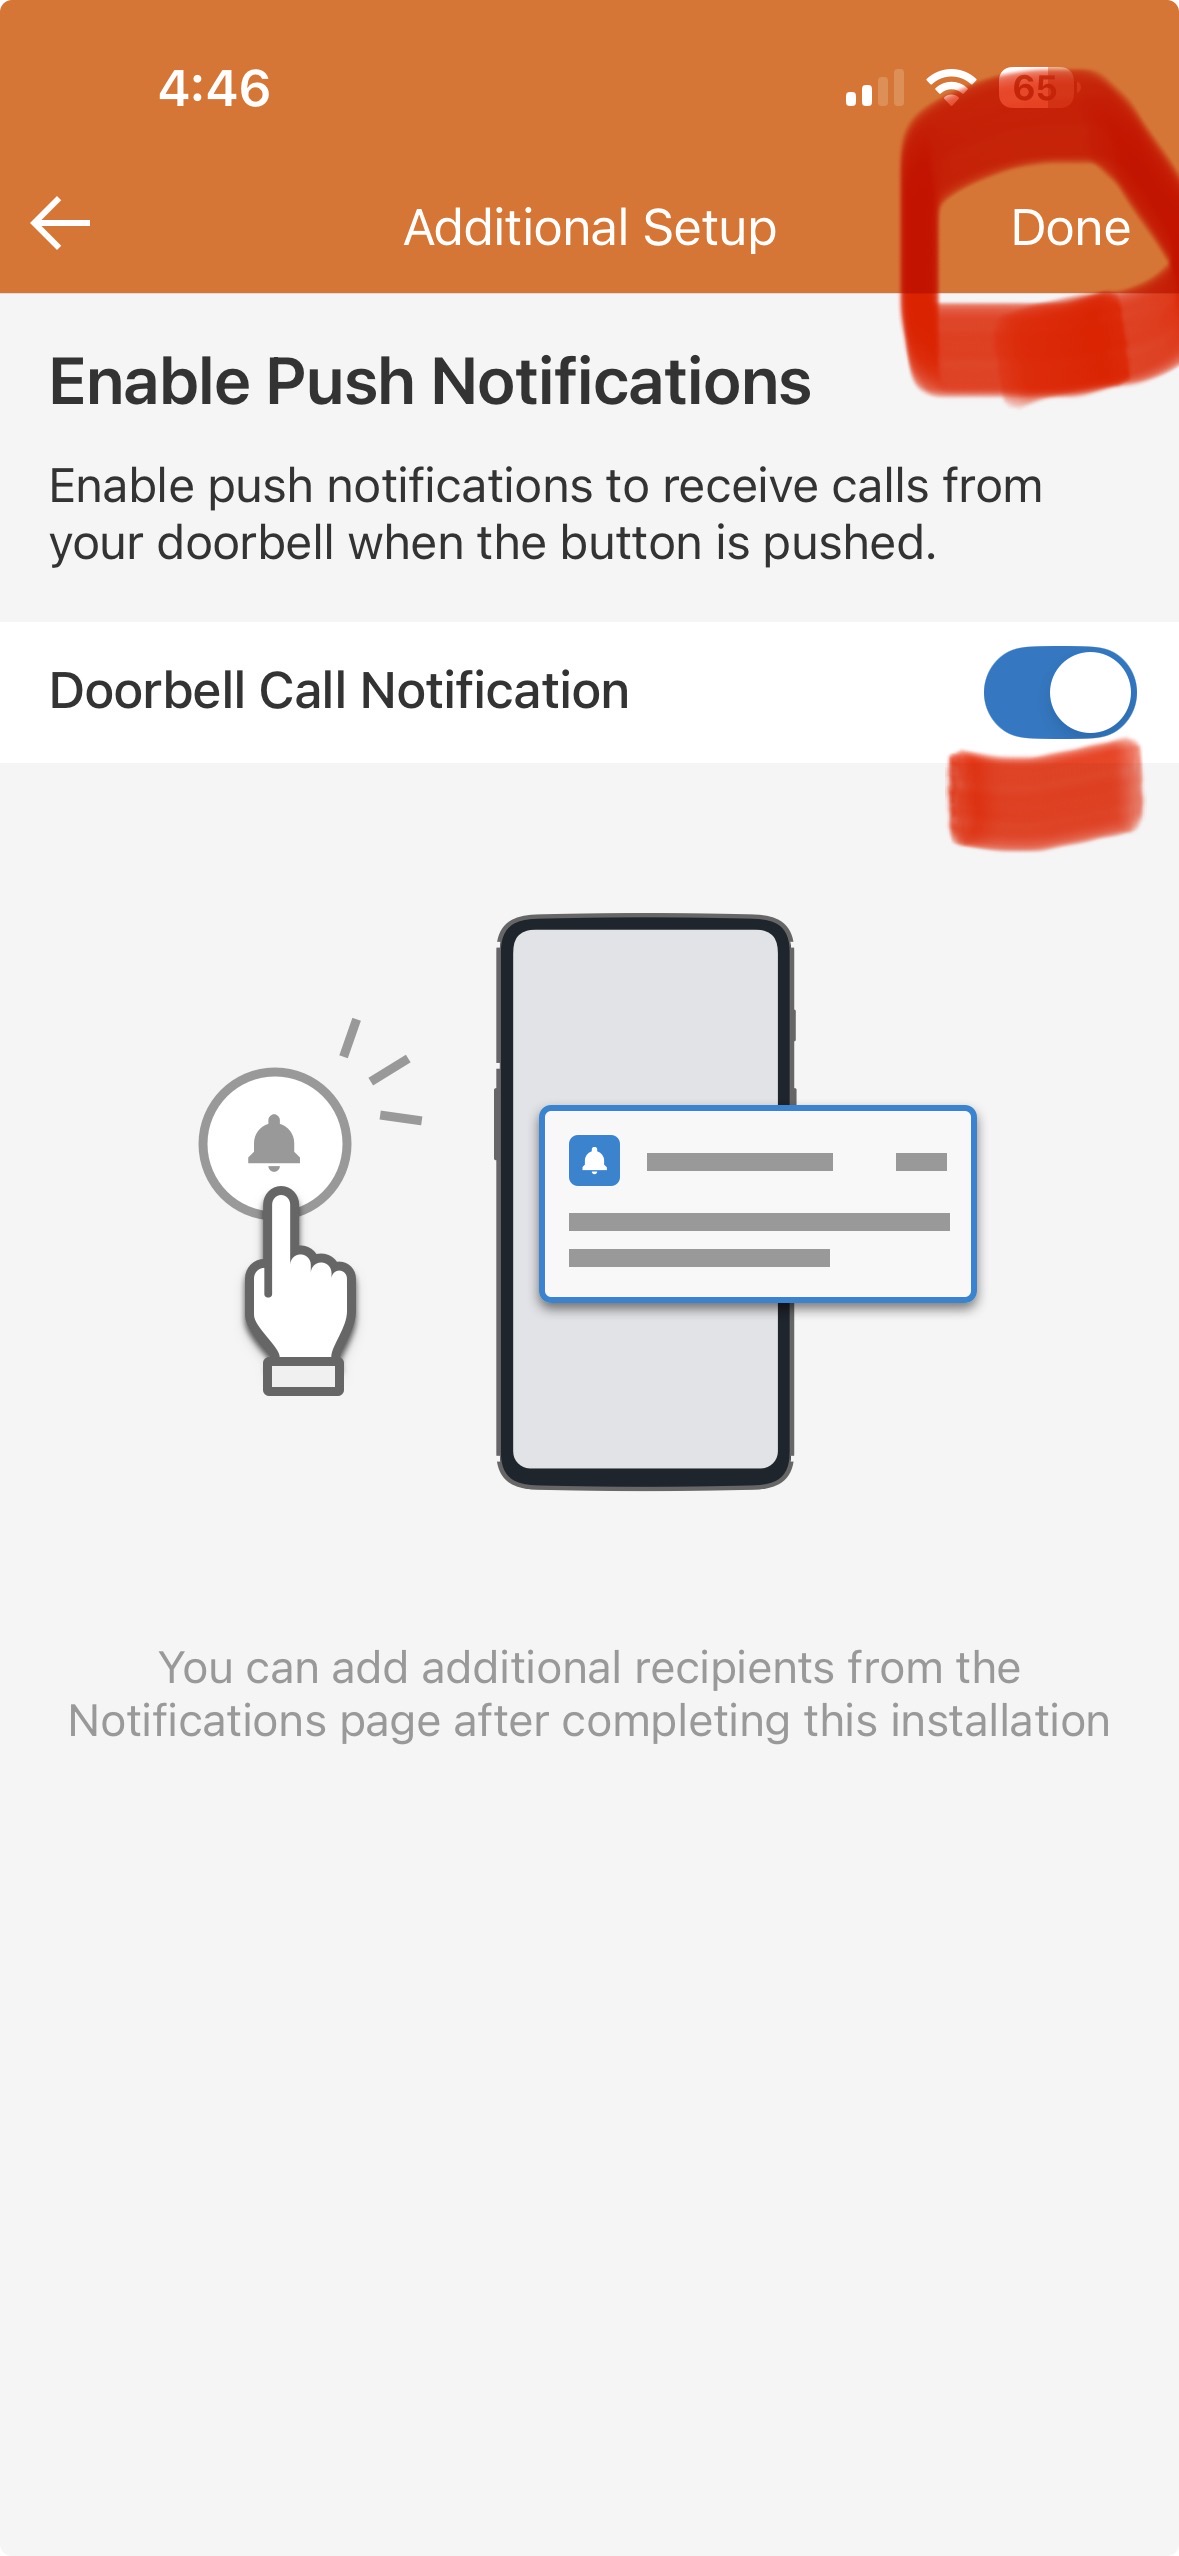
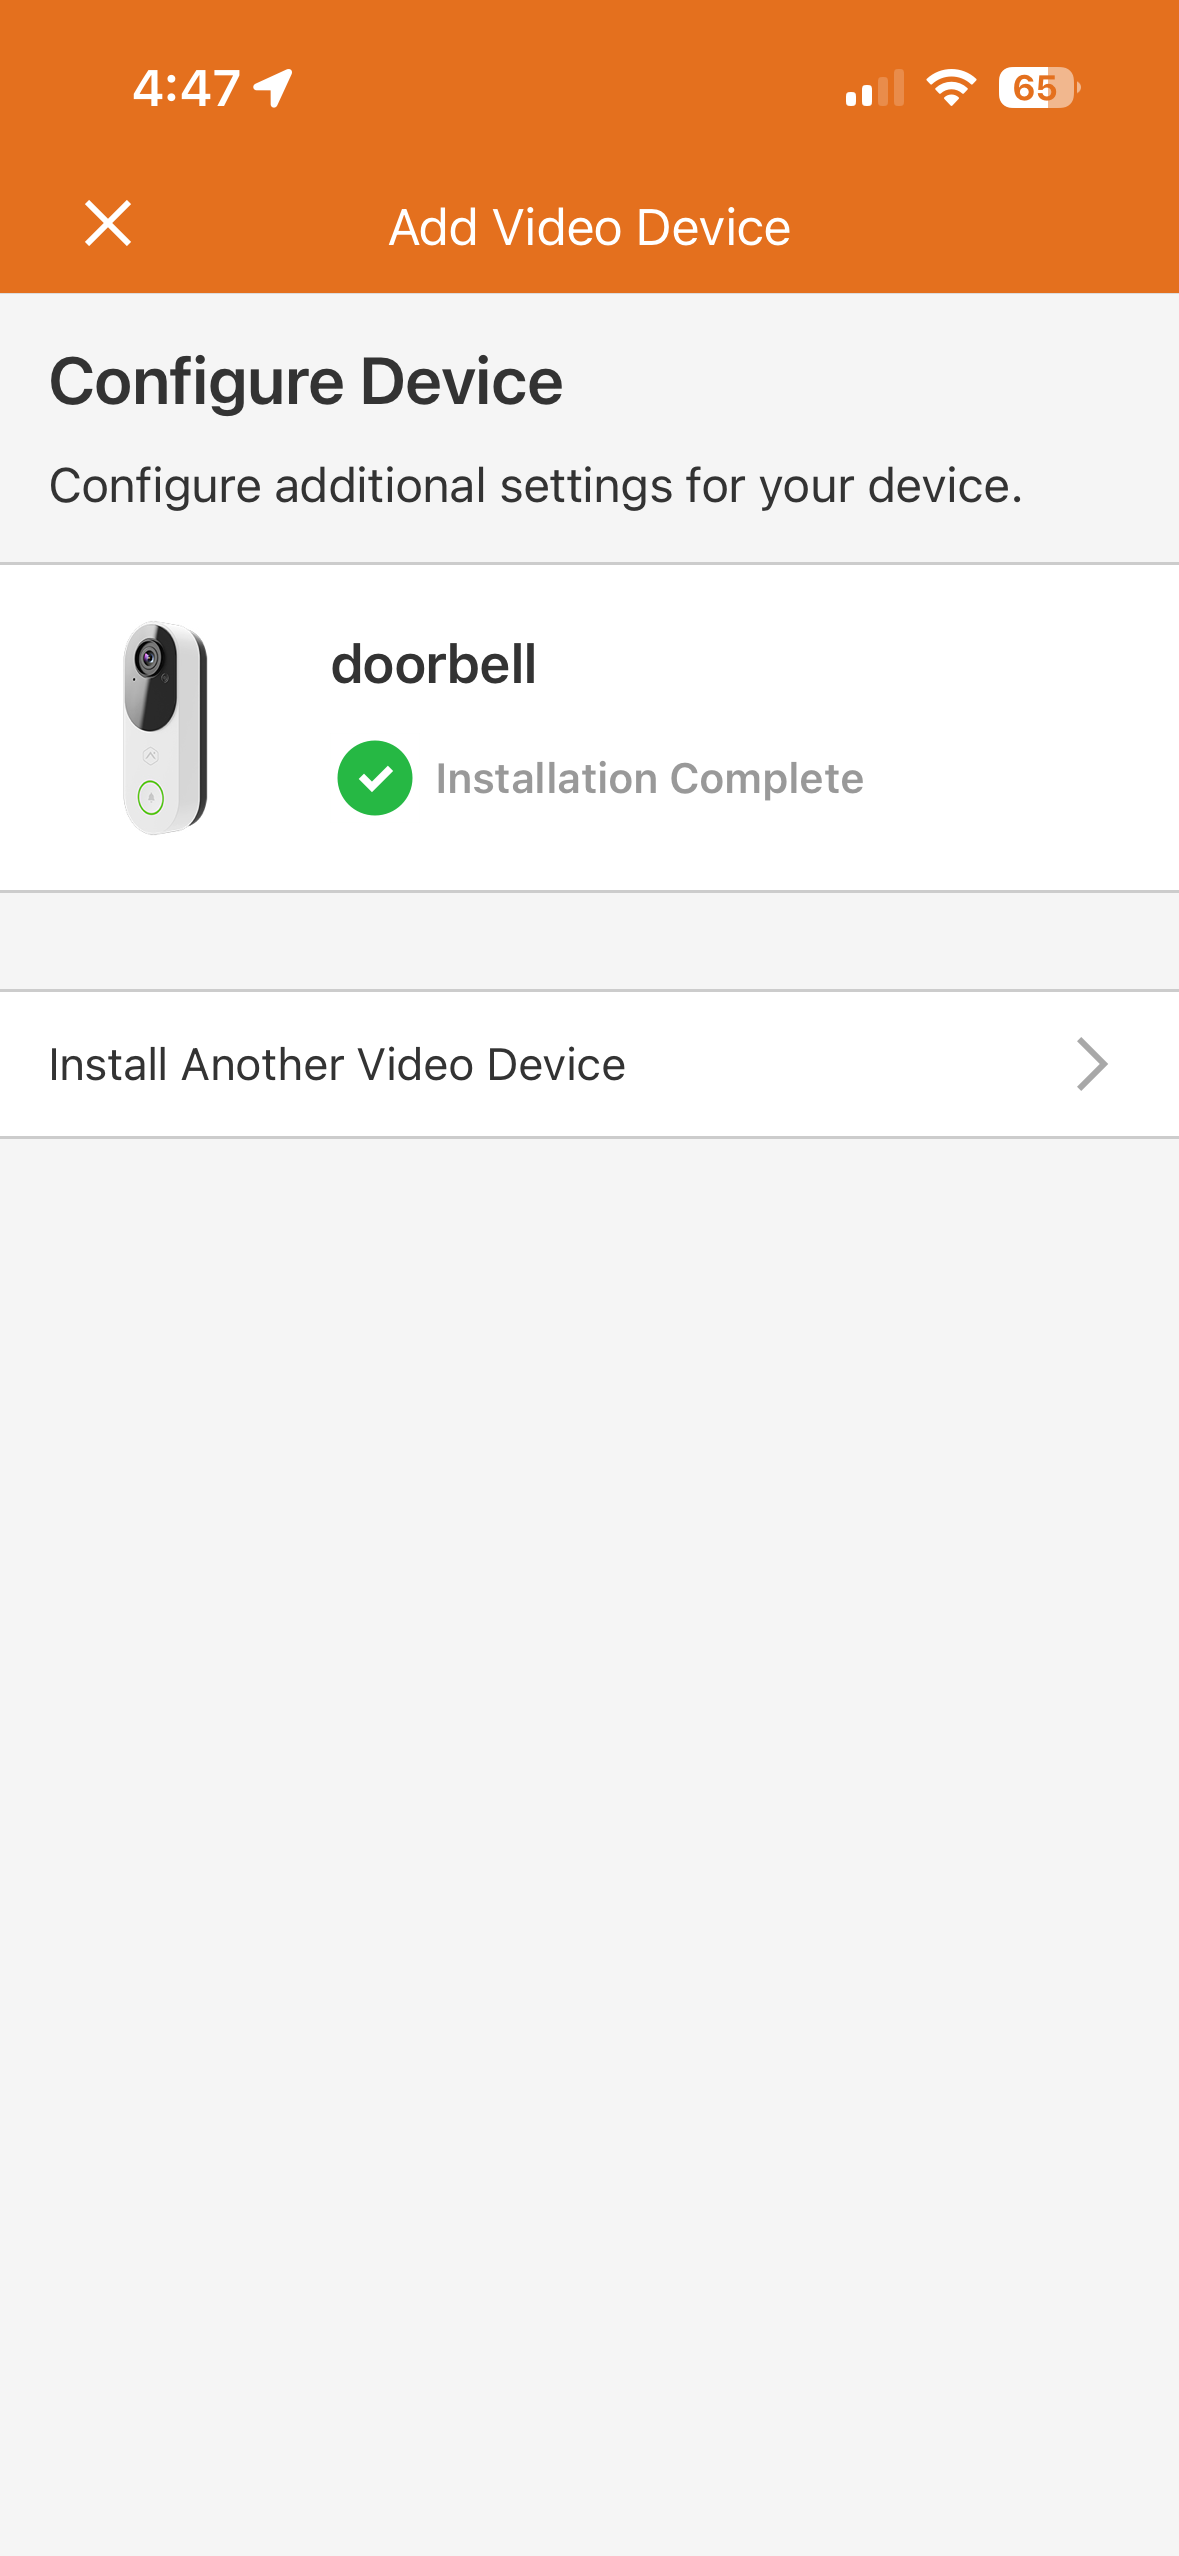
8) Make sure to enable Push Notifications, then select "Done". Screen will show that the installation is complete.
 .
. 
It is now easier than ever for customers to create, edit, and customize their recording rules. First, the screens for individual recordings rules now include collapsible cards for each sub-section (e.g., Perimeter Guard®, lighting automation). The Ground Zone or Tripwire is also displayed on the individual rules page for a single-page viewing experience. On the Recording Rules page, Video Analytics rules are grouped by camera and each rule includes a thumbnail of the configured Ground Zone or Tripwire.
ADC-VDB775's Video Analytics means less noise and more relevant recordings. Customers select the event types they are interested in (e.g., person, vehicle, animal) and the ADC-VDB775 will not record when Other event types occur.
To setup a trip wire analytics rule:
- Log in to the Property Manager Portal.
- Click Video.
- In Video, click Recording Rules.
- Click Add New Rule.
- In New Video Rule, click Video Analytics.
- In Select Camera, click the desired device to use for the recording rule.
- In Select Type, click Tripwire.
- Click Next.
- Enter a name for the rule.
- In Motion Area, click and drag the endpoints of the tripwire to the desired location.
- In Direction, click to select Both Directions if the tripwire should detect motion coming from either side.
- In Detection Type, click to select the desired object(s) to be detected:
- Person
- Vehicle
- Animal
- In Timeframe, click to select the desired timeframe:
- All Times - This will detect motion every time the tripwire is crossed.
- Custom - Select the desired days of the week and times for motion to be detected.
- While on vacation - Select the desired dates for motion to be detected.
- If desired, click the Advanced Settings dropdown menu to set recording rule exceptions (e.g., based on the panel's arming state or the location of Geo-Devices).
- Use the Minimum delay between clips dropdown menu to select the desired time to pass before a new clip is recorded.
- If desired, click the Perimeter Guard® toggle switch to enable a light and/or audio alert when motion is detected.
- If desired, click the Camera light alert toggle switch to enable camera lights when motion is detected.
- Use the Duration dropdown menu to select the amount of time the light alert should be active.
- If desired, click the Camera audio alert toggle switch to enable an audio alert when motion is detected.
- Use the Audio Sound dropdown menu to select the desired sound to play.
- Use the Volume slider to select the desired volume for the audio alert.
- Use the Set minimum delay between clips dropdown menu to select the desired time to pass before a new clip is recorded.
- If desired, click the Camera light alert toggle switch to enable camera lights when motion is detected.
- If desired, click the Light Automation toggle switch to enable light automation actions for when the recording rule is triggered.
- In Select lights, click to select all applicable lights to trigger when the rule triggers.
- Use the Duration dropdown menu to select the amount of time the selected light(s) should be active.
- Click the desired Detection Type checkboxes (i.e., Person, Vehicle, Animal) for the event(s) you that should trigger the light automation.
- In Timeframe, click to select the desired timeframe (i.e., At all times, Only during the following times, Only after Sunset).
- If desired, click the Notifications toggle switch to enable notifications when motion is detected.
- In Detection Type, click to select the desired object(s) to be notified about:
- Person
- Vehicle
- Animal
- In Recipients, click to select the desired recipient(s) for the notifications.
- Use the Attach a Thumbnail dropdown menu to select whether or not a thumbnail is sent with the notifications.
- In Detection Type, click to select the desired object(s) to be notified about:
- Click Save.
To setup a ground zone:
- Log in to the Property Manager Portal.
- Click Video.
- In Video, click Recording Rules.
- Click Add New Rule.
- In New Video Rule, click Video Analytics.
- In Select Camera, click the desired device to use for the recording rule.
- In Select Type, click Ground Zone.
- Click Next.
- Enter a name for the rule.
- In Motion Area, use the corners of the shape to select the desired area for motion detection.
- Click Clear Ground Zone to remove the existing shape and click four new corners to create a new ground zone area.
- Using the Duration inside area of interest dropdown menu, select how long the object needs to be within the ground zone area before the rule triggers.
- In Detection Type, click to select the desired object(s) to be detected:
- Person
- Vehicle
- Animal
- In Timeframe, click to select the desired timeframe:
- All Times - This will detect motion every time the tripwire is crossed.
- Custom - Select the desired days of the week and times for motion to be detected.
- While on vacation - Select the desired dates for motion to be detected.
- If desired, click the Advanced Settings dropdown menu to set recording rule exceptions (e.g., based on the panel's arming state or the location of Geo-Devices).
- Use the Minimum delay between clips dropdown menu to select the desired time to pass before a new clip is recorded.
- If desired, click the Perimeter Guard® toggle switch to enable a light and/or audio alert when motion is detected.
- If desired, click the Camera light alert toggle switch to enable camera lights when motion is detected.
- Use the Duration dropdown menu to select the amount of time the light alert should be active.
- If desired, click the Camera audio alert toggle switch to enable an audio alert when motion is detected.
- Use the Audio Sound dropdown menu to select the desired sound to play.
- Use the Volume slider to select the desired volume for the audio alert.
- Use the Set minimum delay between clips dropdown menu to select the desired time to pass before a new clip is recorded.
- If desired, click the Camera light alert toggle switch to enable camera lights when motion is detected.
- If desired, click the Light Automation toggle switch to enable light automation actions for when the recording rule is triggered.
- In Select lights, click to select all applicable lights to trigger when the rule triggers.
- Use the Duration dropdown menu to select the amount of time the selected light(s) should be active.
- Click the desired Detection Type checkboxes (i.e., Person, Vehicle, Animal) for the event(s) you that should trigger the light automation.
- In Timeframe, click to select the desired timeframe (i.e., At all times, Only during the following times, Only after Sunset).
- If desired, click the Notifications toggle switch to enable notifications when motion is detected.
- In Detection Type, click to select the desired object(s) to be notified about:
- Person
- Vehicle
- Animal
- In Recipients, click to select the desired recipient(s) for the notifications.
- Use the Attach a Thumbnail dropdown menu to select whether or not a thumbnail is sent with the notifications.
- In Detection Type, click to select the desired object(s) to be notified about:
- Click Save.